How to Turn a Pallet into an Herb Garden: Step-by-Step DIY Guide
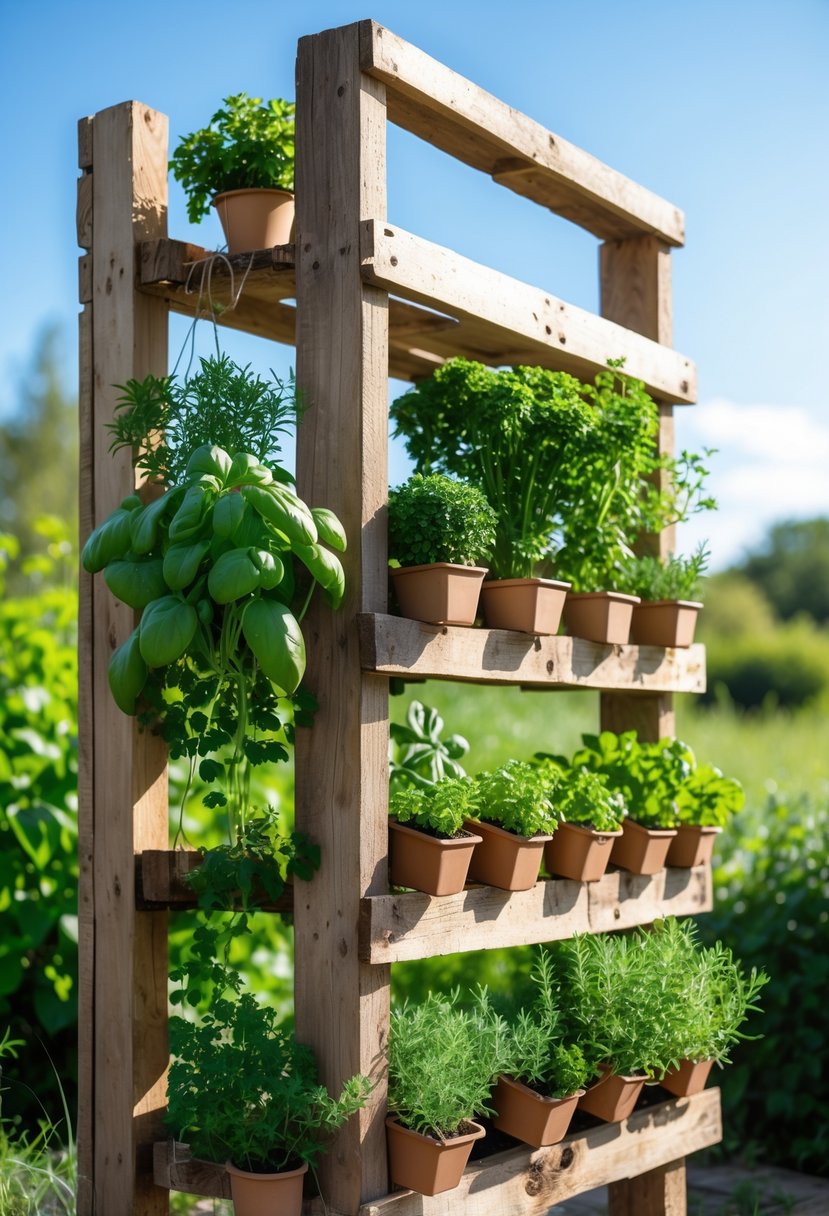
Turning an old wooden pallet into an herb garden is a simple and affordable way to grow fresh herbs, even if you have limited space. You can create a vertical garden by preparing a safe pallet, lining it to hold soil, and planting herbs directly into its compartments. This method works well on balconies, patios, or small yards where traditional gardening might not fit.
You don’t need special tools or fancy materials—just basic supplies and a bit of patience. With the right steps, your pallet herb garden will be ready to provide fresh basil, thyme, parsley, and more, making your cooking more flavorful and your home greener.
This guide will show you how to pick the right pallet, prepare it properly for planting, arrange your herbs, and care for your garden to keep it healthy and productive.
Key Takeways
- Choose a sturdy, untreated pallet and prepare it well for planting.
- Create soil pockets with fabric liners to keep herbs secure.
- Place your garden where it gets enough sunlight and water regularly.
Choosing and Preparing Your Pallet
Start with picking a pallet that is safe and strong enough to support your herbs. You will need to clean, sand, seal, and fix the wood to protect it from damage and make it suitable for planting.
Selecting a Safe Wooden Pallet
Not all pallets are safe for your herb garden. Look for pallets stamped with HT (heat treated), which means they were treated with heat and do not contain harmful chemicals. Avoid pallets marked with MB (methyl bromide), as they have toxic chemicals unsuitable for growing food.
Choose a pallet in good shape, without big cracks, rot, or broken boards. A solid, well-built pallet will last longer and hold soil and plants securely.
Cleaning and Sanding the Pallet
Remove dirt, dust, and any debris by washing your pallet with soapy water. Use a stiff brush to scrub it clean. Let it dry completely before moving to the next step.
Sand all surfaces to smooth rough or splintered wood. This reduces the chance of injury and helps the sealant stick better. Focus on edges and surfaces that will touch your soil or plants.
Sealing and Repairing the Wood
Seal your pallet to protect the wood from moisture and rot. Choose a non-toxic, water-based sealant safe for edible plants. Apply it evenly and let it dry fully between coats.
Repair any loose or broken boards with nails or screws to keep the structure strong. This ensures your pallet herb garden stays stable and can hold soil without collapsing.
Building the Structure
Building your pallet herb garden means preparing it to hold soil and plants securely. You need to create pockets to keep the soil in place, add lining to prevent leaks, and decide if it will stand up or lie flat. Each step ensures the pallet is strong and functional for growing herbs.
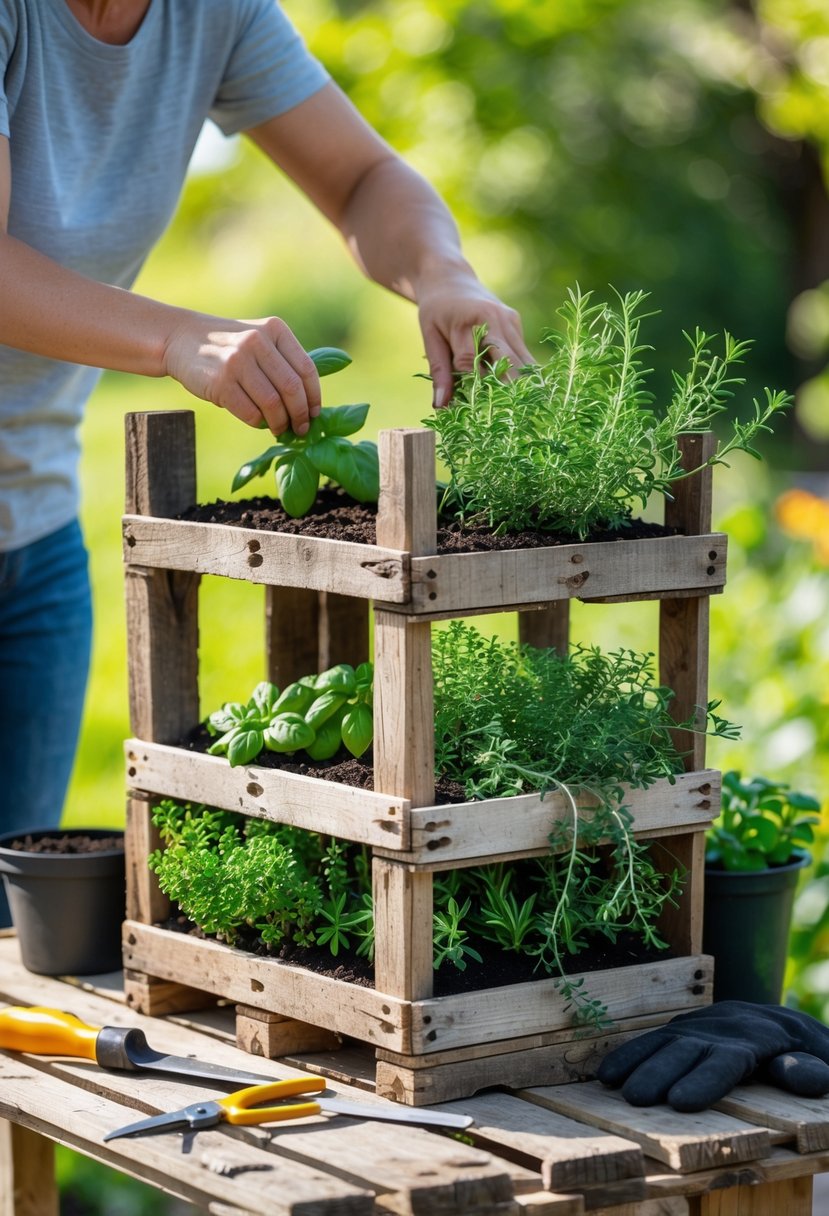
Creating Planting Pockets or Compartments
Start by turning the pallet’s open slats into small garden beds. Use landscape fabric, burlap, or heavy plastic to cover the back and bottom of each slot where soil will go. Staple the fabric tightly to the wood edges so the soil stays inside.
If the gaps between slats are wide, attach extra wood pieces horizontally to make smaller compartments. This stops soil from falling out and lets you plant different herbs side by side. Press the fabric down firmly to keep the shape but avoid stretching it too tight.
Make sure every pocket has enough depth to hold soil and roots comfortably. You can test by filling with some soil and pressing lightly to check stability before planting.
Lining and Reinforcing the Pallet
Once pockets are made, line the pallet to keep moisture in and protect the wood. Attach landscape fabric over the back and inside each compartment. It should be breathable to allow water drainage but tight enough to hold soil.
Check for rough edges and sand them smooth to prevent tears in the fabric. Reinforce weak areas with extra staples or small strips of wood along the edges to keep fabric secure.
If your pallet will be outdoors, think about sealing the wood beforehand with a non-toxic wood sealant to prevent rot caused by water. Make sure the pallet is sturdy—tight any loose boards with nails or screws.
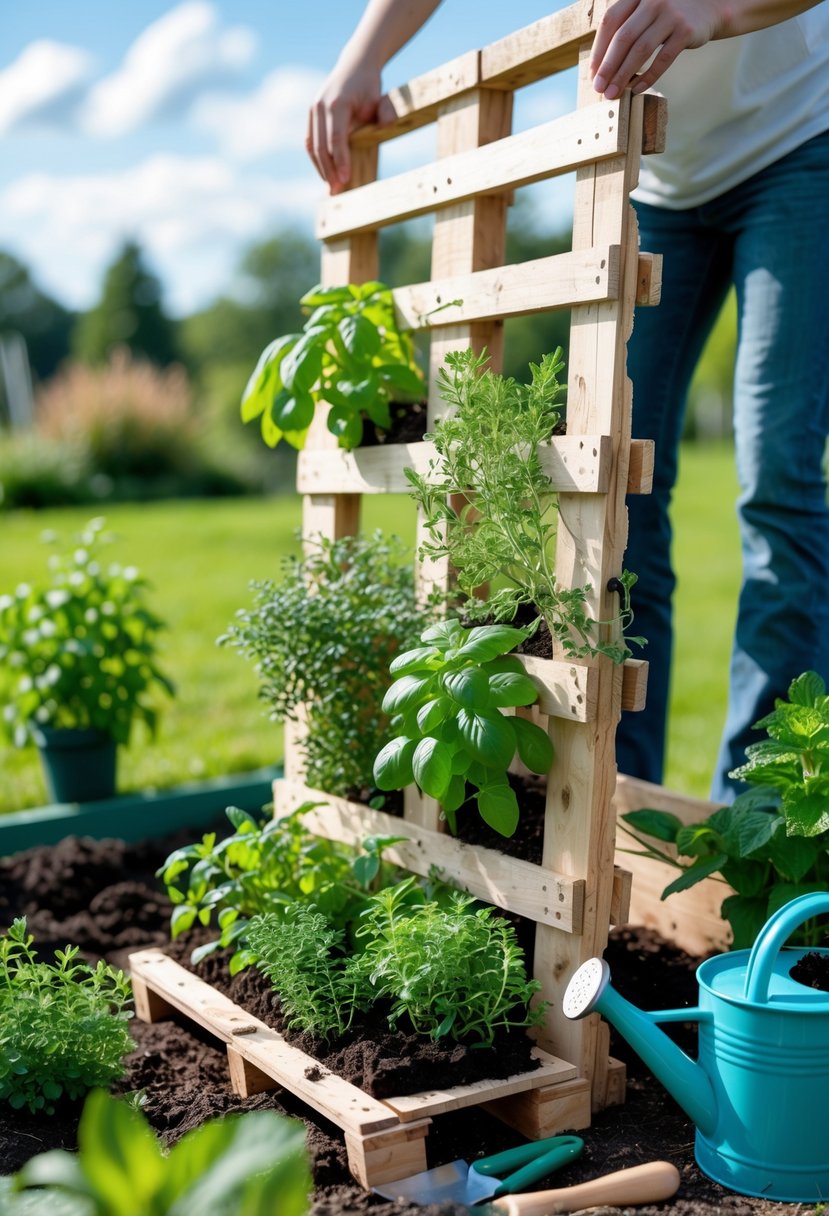
Configuring for Vertical or Horizontal Use
Decide how you want to place your pallet herb garden. Standing it vertically is common because it saves space and works well on fences or walls. To support vertical setup, seal the back fully with fabric or waterproof material to keep soil from falling out.
If the vertical pallet will lean on a wall, tilt it slightly backward for stability. You can also attach brackets or hooks to secure it so it won’t tip over.
For a horizontal pallet garden, place it flat on the ground or raised on bricks. This helps avoid wood rot from soil moisture underneath. Horizontal setups may hold larger soil volumes but take more floor space.
Choose placement based on your available area and how you want to access your herbs for watering and harvesting.
Planting and Arranging Your Herbs

When setting up your pallet herb garden, you need to prepare the soil properly, pick the right herbs for your space, and use good planting and watering methods. Each step helps your herbs grow well and stay healthy in the limited space of a pallet garden.
Filling Compartments with Soil
Start by using a lightweight potting mix instead of regular garden soil. Potting mix drains better and fits well in the small compartments of your pallet.
If you have compost, mix a small amount into your soil to add nutrients. Fill the compartments slowly, pressing the soil gently to hold it in place without packing it too tightly.
Make sure the soil fills each pocket almost to the top but leaves enough space so you can plant herbs easily.
Keep soil levels checked over time because it can settle or wash away when you water.
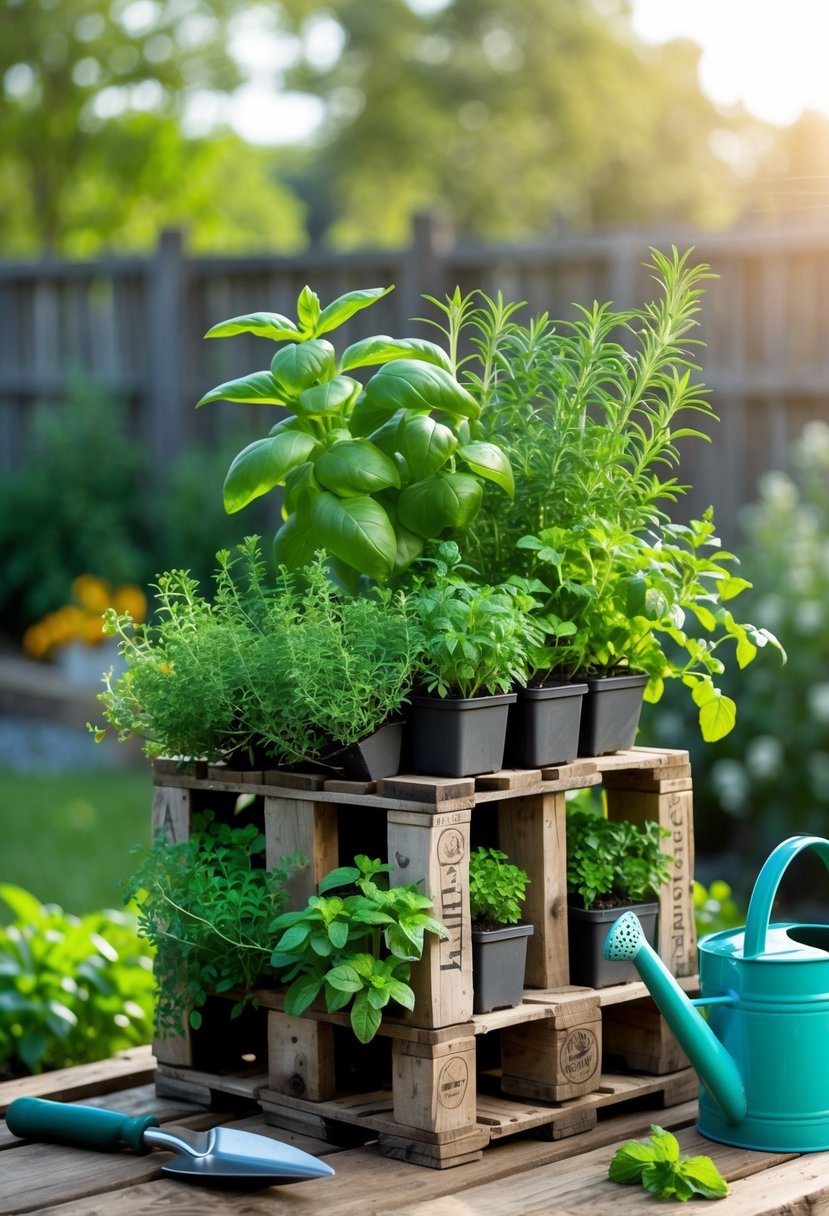
Choosing Herbs for Your Garden
Pick herbs that do well in small spaces and can grow vertically. Good choices include basil, thyme, parsley, cilantro, chives, and mint.
Match herbs with similar sunlight and water needs to make care easier.
Avoid plants that grow too big or spread aggressively, like rosemary or oregano, unless you have larger compartments.
Label your herbs so you know what’s growing where. Use simple markers or write on the pallet itself.
Planting and Watering Techniques
Plant herbs by making small holes in the soil about the size of the root ball. Place the herb gently in, then firm the soil around it.
Water your herbs right after planting. Because pallet gardens dry out faster, water lightly every day or every other day depending on the weather.
Ensure your pallet’s fabric liner allows good drainage to prevent water buildup. Too much water can cause root rot or damage the wood.
Trim herbs regularly to encourage growth and keep plants healthy.
Placement, Care, and Creative Enhancements
To keep your pallet herb garden healthy and productive, focus on where you place it, how you care for it, and ways to make it functional and attractive. Proper light, watering, and maintenance routines will help your herbs thrive. You can also customize your garden’s look to fit your space and style.
Positioning for Optimal Sunlight
Place your pallet herb garden where it receives 6 to 8 hours of direct sunlight daily. This amount of light is crucial for most herbs like basil, mint, and chives.
If you are using a vertical pallet herb garden, make sure it faces south or west to maximize sun exposure throughout the day. Avoid spots shaded by buildings or tall trees.
For horizontal layouts, space the pallets so herbs are not blocking each other’s light. Taller herbs should be at the back or top, with shorter ones in front or lower levels.
Watering and Maintenance Tips
Water your pallet herb garden deeply once a week, or when the soil feels dry about an inch below the surface. Avoid overwatering to stop root rot.
Use a watering can with a narrow spout or a drip irrigation system. This helps deliver water directly to the roots while keeping leaves dry, reducing disease risk.
Feed your herbs with an organic, balanced fertilizer every 4 to 6 weeks during the growing season. Regular pruning encourages bushy growth and keeps plants healthy.
Harvest often by snipping outer leaves with clean scissors to promote new growth and prevent overcrowding.
Customizing Design and Add-Ons
You can personalize your pallet herb garden to fit your style and improve its function. Paint or stain untreated wood pallets for a fresh look, but use non-toxic finishes safe for plants.
Add small hooks or shelves to hold garden tools or labels. You might include a small drip tray at the bottom in vertical setups to catch excess water.
Consider mixing your pallet herb garden with other elements like decorative stones, mulch, or fairy lights to brighten your outdoor or indoor space.
Creative placement and design can transform a simple pallet into a practical and appealing herb garden.