How to Grow Rice in Containers at Home: Step-by-Step Guide
Growing rice at home in containers is easier than you might think and a unique way to add fresh grains to your garden. You don’t need a large field or special equipment to try it. By using a deep container and keeping the soil constantly wet, you can successfully grow rice right on your patio or balcony.
Choosing the right type of rice and ensuring your container has proper drainage and enough depth are key steps. Rice grows best when it stays wet but not waterlogged, and it needs plenty of sunlight. With the right care, you will see your plants grow from seedlings to mature rice ready for harvest.
This method is both fun and educational, letting you experience a staple crop without a big space. Whether you want to grow rice for cooking or just for the challenge, growing it in containers brings something new to your home garden.
Key Takeways
- Use deep containers with good drainage to support rice growth.
- Keep the rice plants wet and provide plenty of sunlight.
- Monitor growth and harvest when plants turn golden brown.
Choosing the Right Rice Variety and Containers
To grow rice successfully in containers, you need to pick the right rice type and container. This means considering your space, climate, and how much care the plants will need. Your choices here will affect how well your rice grows and how easy it is to manage.
Selecting Suitable Rice Varieties for Containers
Choose rice varieties that grow well in small spaces and flooded conditions. Dwarf or short-grain types are best because they stay smaller and fit container environments. Some popular options include Calrose, Arborio, and Koshihikari. These varieties adapt well to container growing and produce good yields.
If you want fragrant rice, try Jasmine, which also works in containers. Avoid large or tall varieties since they need more space and water depth. Look for seeds labeled for home gardening. This helps ensure the variety suits container use and your local climate.
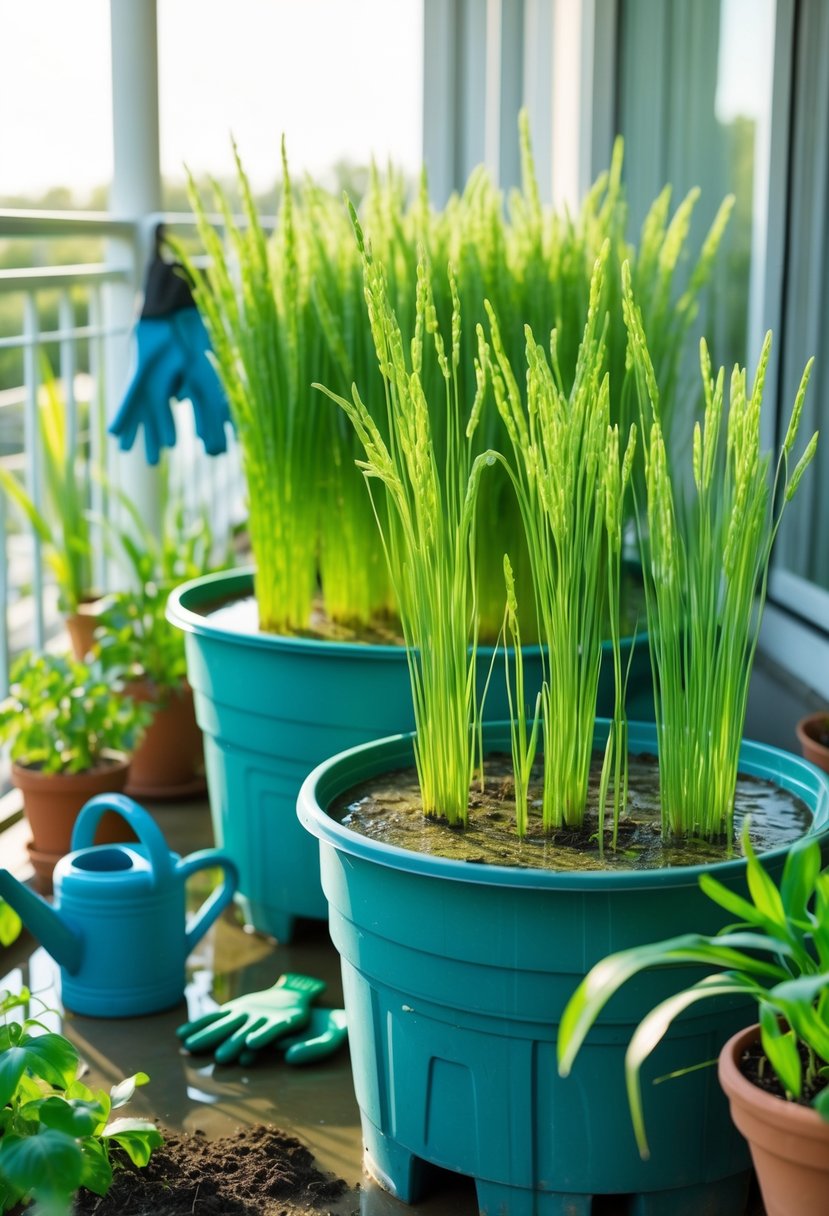
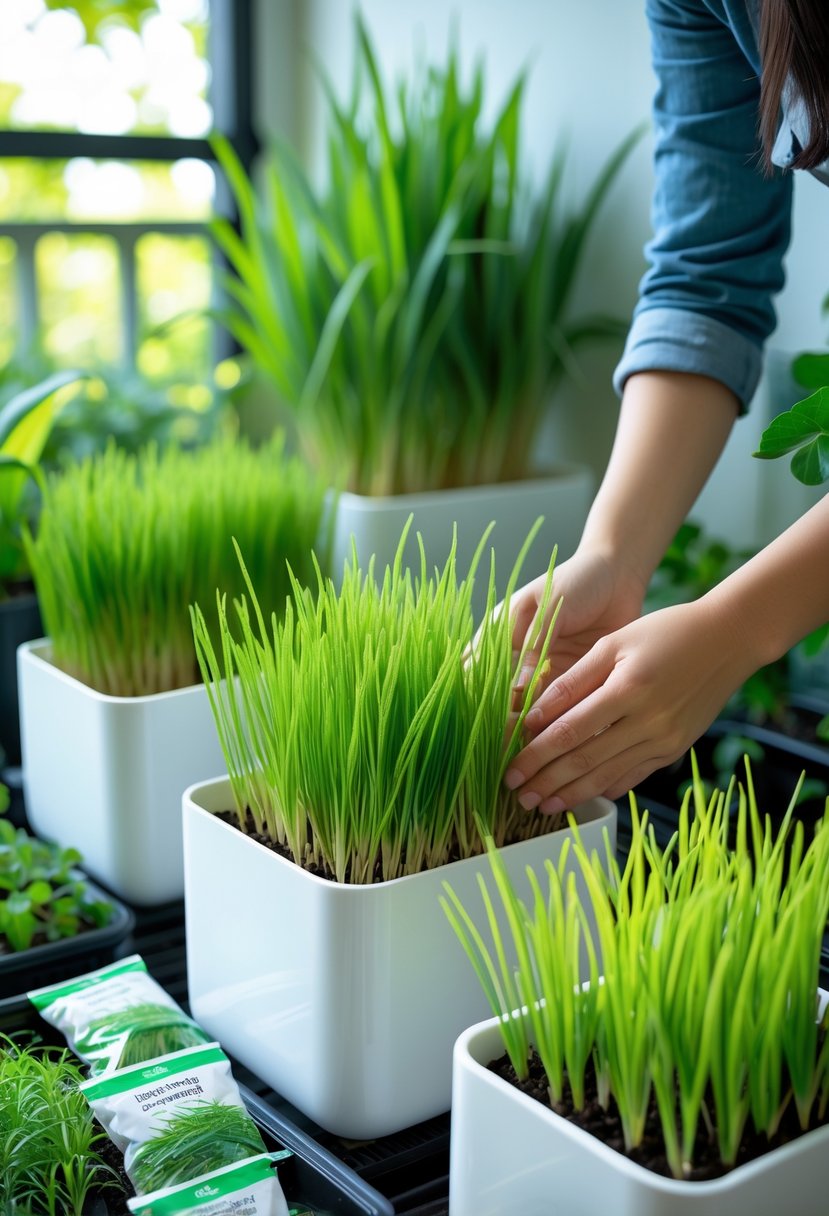
Picking the Best Containers for Rice Growth
Your container should be deep and wide enough to hold at least 12 inches of soil and water. Rice roots need room to grow, and water must cover the soil for flooding. Use containers with drainage holes to stop water from stagnating, but you will need to manage water levels carefully.
Good container materials include plastic, ceramic, or glazed pots that can hold water without leaks. You might want containers that are easy to move, especially for better sun exposure. Aim for a size that holds about 5–10 gallons of soil for optimal growth.
Considerations for Growing Rice in the UK
The UK’s cooler climate means you must be careful about sunlight and temperature. Rice needs 6 to 8 hours of direct sunlight daily, which can be limited in some areas. Place containers in the sunniest spot, such as a south-facing balcony or garden.
Because the UK is cooler, select varieties that mature faster and tolerate cooler weather. You may need to start seeds indoors to get a head start before moving the plants outside. Keep water levels steady and check regularly, since the UK’s weather can be unpredictable. Using a greenhouse or polytunnel can improve warmth and growth conditions.
Preparing for Planting
To grow rice in containers, you need to get the soil right, prepare the seeds properly, and choose a good spot for your container. Each of these steps helps your rice plants grow strong and healthy.
Soil Mix and Nutrient Preparation
Use a potting mix that drains well but can hold moisture. Combine high-quality potting soil with organic compost or aged manure to give your plants the nutrients they need.
Keep the soil slightly acidic, with a pH around 5.5 to 6.5. This helps rice roots absorb nutrients better.
Fill your container so there is about 2 inches of space at the top. This prevents water from spilling when you water the plants.
Make sure the soil stays damp but not soggy. Rice needs moisture but too much water can cause root problems.
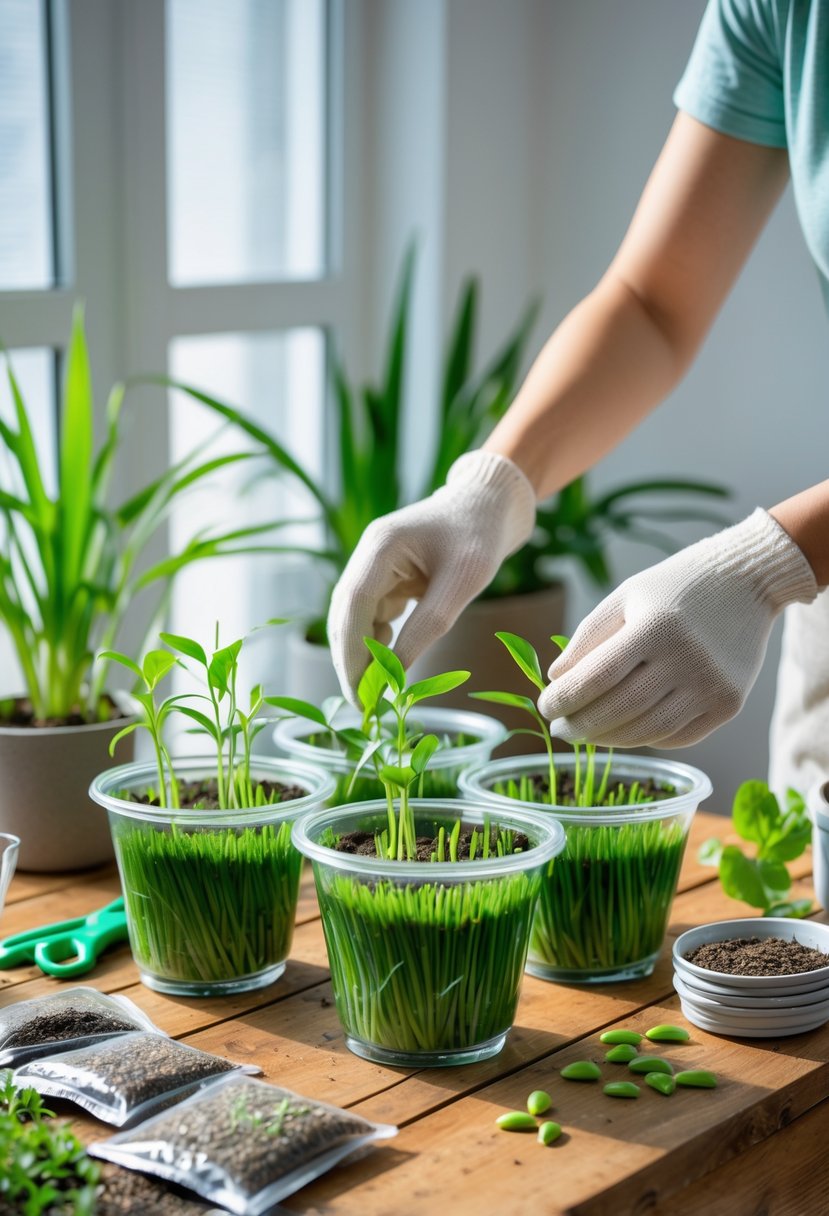
Seed Selection and Pre-Germination
Choose rice seeds meant for planting, not cooking rice. You can find these online or at garden centers.
Before planting, soak your seeds in water for 24 to 48 hours. This speeds up germination and improves the chances they will sprout.
After soaking, drain the seeds and spread them evenly on the soil surface. Press them lightly into the soil but don’t bury them deep.
Keep the seeds moist as they start to sprout. Warm temperatures between 70°F and 90°F (21°C to 32°C) help them grow faster.
Container Placement and Drainage
Pick a container at least 12 inches deep to give roots enough space. It should have drainage holes to stop water from pooling.
Place your container in a spot where rice plants get 6 to 8 hours of direct sunlight every day.
If you live in a very hot area, provide some shade during the hottest part of the day to protect your plants.
Avoid windy areas, as strong winds can damage tall rice stalks. You can use stakes to support the plants as they grow.
Rice Planting and Growth Stages
Growing rice in containers requires precise care during planting and throughout its growth. You will need to focus on proper sowing techniques, maintaining water levels, and managing nutrients and weeds to ensure healthy development.
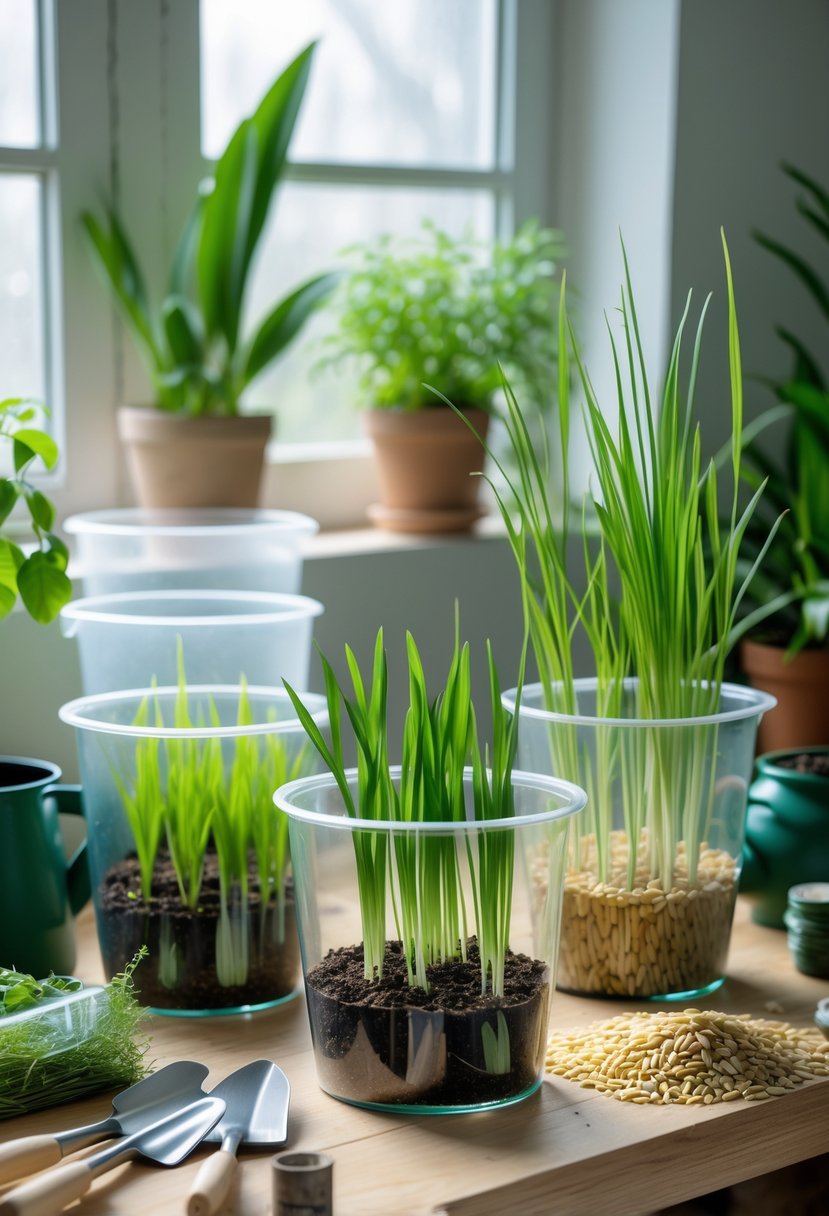
Sowing Rice Seeds in Containers
Start by soaking your rice seeds in water for 24 to 48 hours to soften their outer shell. This helps the seeds sprout quickly. After soaking, place them on a damp cloth in a warm, dark place for about 24 hours until small sprouts appear.
Plant the germinated seeds 1 to 2 inches deep in your container’s soil. Space them evenly to avoid overcrowding, which can slow growth and increase disease risk. Use a container at least 12 inches deep to give roots enough space.
Ensure the soil is moist but not waterlogged when you plant. Rice prefers slightly acidic soil (pH 6.0–6.5) enriched with compost or organic matter. This creates the best environment for seeds to grow strong roots.
Water Management and Flooding Techniques
Rice thrives in wet conditions, so maintaining the right water level is crucial. After planting, fill the container with 2 to 3 inches of water to mimic flooded rice paddies. Keep this water depth consistent throughout the growing season.
Monitor water levels daily to prevent drying out or overfilling. Containers need drainage holes to stop excess water from causing root rot. If the water level drops, refill it to keep rice plants healthy.
Flooding helps control weeds and supports good growth, but ensure your container does not stay waterlogged for too long. Seasonally, you may reduce flooding just before harvest to help the grains mature and dry.
Fertilizing and Weeding Practices
Feed your rice plants with a balanced, organic fertilizer every two weeks. This supplies key nutrients, such as nitrogen and phosphorus, which are vital for strong stems and healthy grain development.
Keep the container free from weeds because they compete with your rice for water and nutrients. Remove weeds carefully by hand or use non-toxic methods to avoid harming your plants.
Watch for pests and diseases often. Use natural pest control options like neem oil or beneficial insects to protect your rice without chemicals. Healthy rice plants grow best when cared for consistently through fertilizing and weeding.
Harvesting and Maintaining Rice Plants
You need to know when your rice is ready to harvest and how to prepare it properly afterward. Taking care of your rice plants after harvesting helps keep the grains in good condition. You might also face some common problems when growing rice in containers and should know how to fix them.
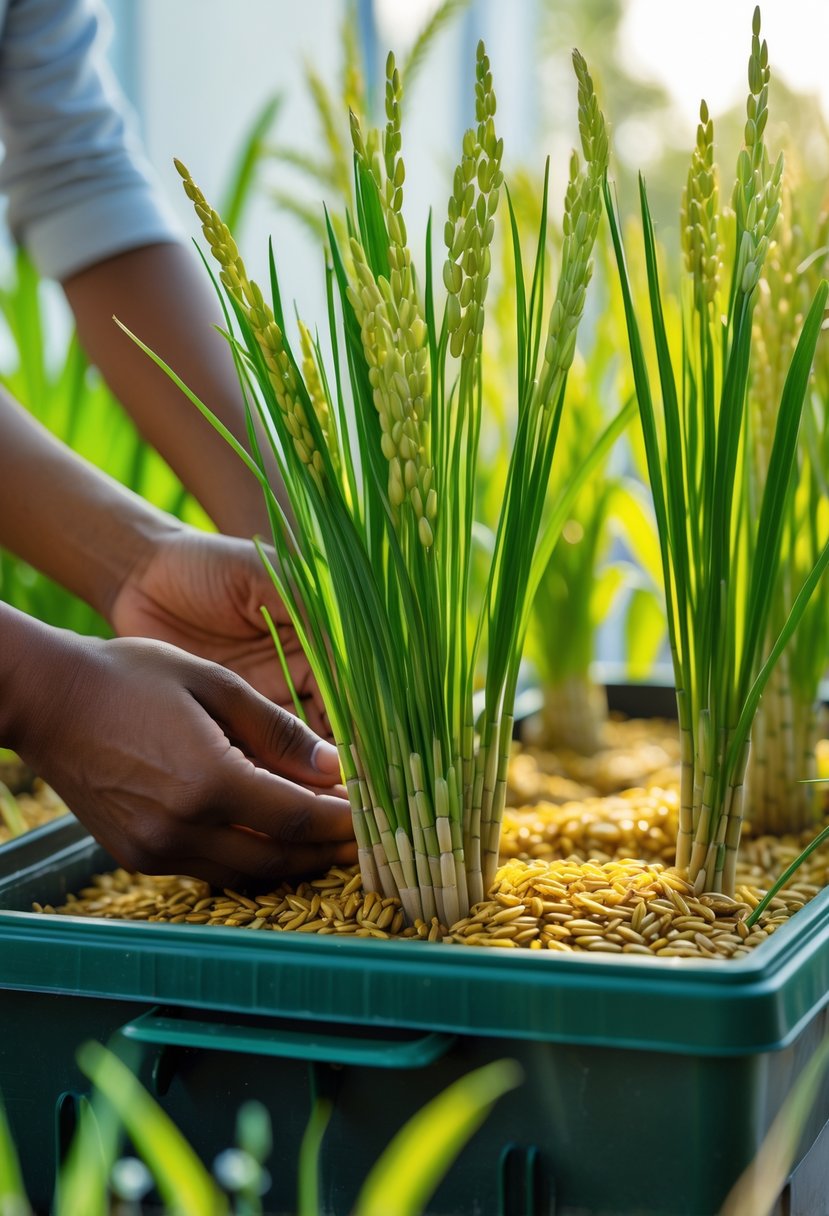
Recognizing Ripeness and Harvest Timing
Your rice plants are ready to harvest when the grains turn golden brown. The seed heads will droop or bend down because of their weight. Check that most of the grains are firm and not soft or green.
Harvesting too early can result in immature rice with poor quality. Waiting too long can cause the grains to fall off or attract pests. Use scissors or garden shears to cut the seed heads carefully.
Harvest your rice on a dry day to avoid mold during drying. You can harvest when at least 80% of the grains have changed color.
Drying and Processing Homegrown Rice
After cutting, hang the seed heads in a well-ventilated, dry area. This prevents mold and allows the grains to dry evenly. Leave them to dry for about 1-2 weeks.
Once dry, you need to thresh the rice to separate the grains from the stalks. You can do this by gently rubbing or beating the seed heads over a clean surface.
Clean your rice by removing husks and any debris. Dry the cleaned grains further if needed before storing them. Store your rice in a cool, dry place inside an airtight container to avoid moisture and pests.
Troubleshooting Common Container Growing Issues
Water is the most critical factor. Keep about 2 inches of water in the container throughout the growing season. Too little water causes stunted growth; too much can lead to root rot.
Watch for pests like leaf folders or diseases such as stem rot. Use organic sprays like neem oil and remove affected plant parts. Drainage holes in your container help prevent water buildup and disease.
If your plants look yellow or weak, check soil nutrients and pH. Fertilize every two weeks with a balanced organic fertilizer and keep the soil slightly acidic (pH 6.0 to 6.5). Proper sunlight (6-8 hours daily) is also essential for healthy growth.