How to Grow Jerusalem Artichokes for a Thriving Home Garden
Jerusalem artichokes are easy-to-grow tubers that can add variety to your garden and plate. The best way to grow them is by planting tubers about 12 to 18 inches apart, no more than 5 inches deep, with the “eyes” facing up. These plants prefer full sun and well-drained, loose soil, which helps you harvest the tubers more easily.

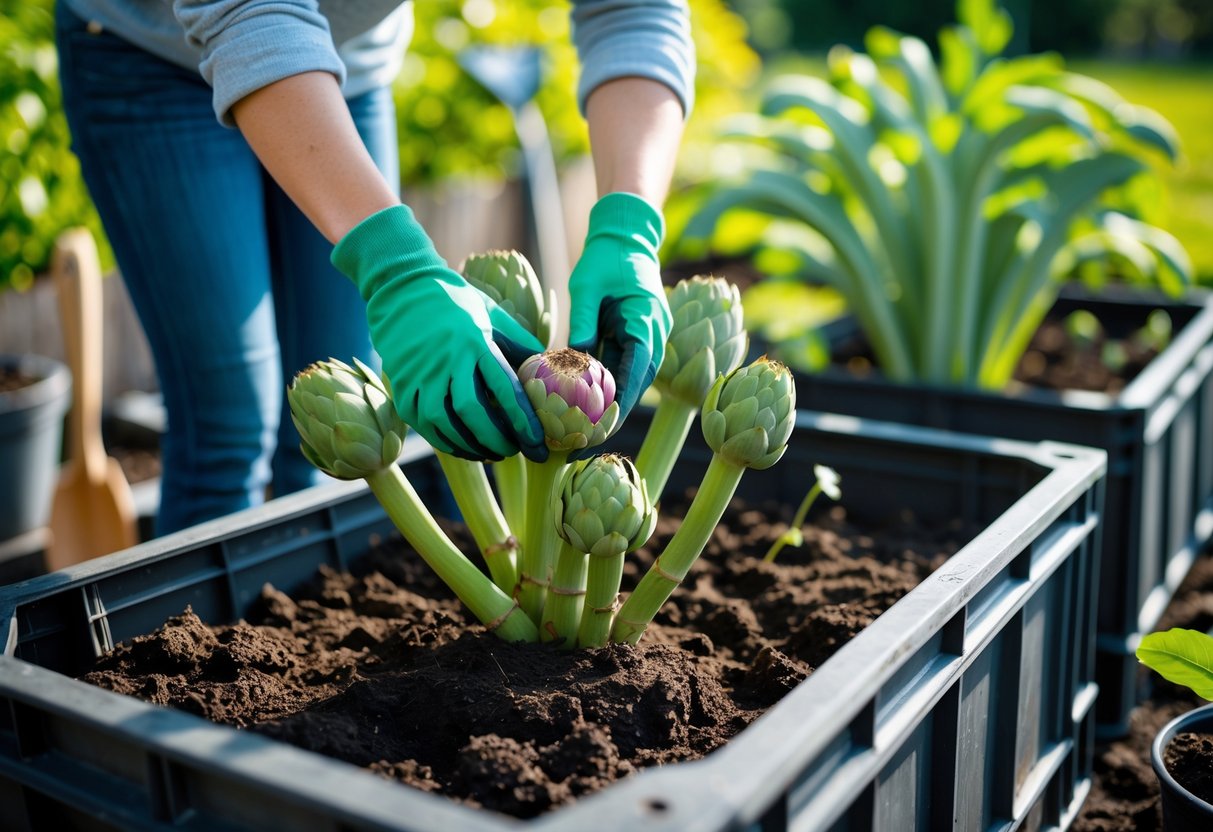
While Jerusalem artichokes are tough and hardy, they can spread quickly if not managed well. Choosing a good spot, like a raised bed, helps control their growth and keeps them from taking over your yard. Once established, they grow tall and produce plenty of edible tubers that you can harvest in late autumn.
You don’t need seeds to start—just healthy tuber pieces that weigh around 1.75 ounces or more. With the right care, these plants will reward you with a steady supply of unusual, nutritious roots that are worth the effort.
Key Takeways
- Plant Jerusalem artichoke tubers in loose, well-drained soil with enough space.
- Choose a sunny and contained area to prevent unwanted spreading.
- Tubers are ready to harvest from late autumn after robust plant growth.
Essential Requirements for Growing Jerusalem Artichokes

You will need well-prepared soil, the right climate, and proper sun and water to grow Jerusalem artichokes successfully. Paying attention to these details will help your plants produce a good harvest and avoid common problems.
Soil and Site Selection
Choose soil that drains well because Jerusalem artichokes do not like to sit in water. Clay or heavy soils can cause tubers to rot. Ideally, the soil should be loose and rich in organic matter to support healthy root growth.
Plant your tubers about 12 to 18 inches apart and no deeper than 5 inches. This spacing ensures enough room for tubers to expand underground. Avoid planting where water collects after rain or watering.
If you garden in the UK, select a spot with soil pH between 5.8 and 6.5. Adding compost before planting will improve soil fertility and texture. The soil should be cool and moist at planting time, usually early spring or autumn.
Climate Considerations
Jerusalem artichokes adapt to many climates but grow best in temperate zones. In the UK, you can plant them in early spring once the risk of hard frost has passed. They tolerate frost but prefer a growing season with moderate temperatures.
These plants thrive in USDA zones 3 to 9, which matches much of the UK climate. They are hardy and can survive cold winters with some mulch for protection. However, very wet or too hot conditions can affect growth.
You should aim to grow them where winters aren’t too harsh and summers are warm enough for tubers to mature fully. Jerusalem artichokes need a long growing season of at least 100 days.
Sunlight and Watering Guidelines
Jerusalem artichokes need a spot with full sun to partial shade. Aim for at least 6 hours of direct sunlight a day. More sunlight helps plants grow taller and produce bigger tubers.
Water your plants regularly, especially during dry spells. The soil should stay moist but not waterlogged. Too much water leads to rot, while too little causes poor tuber development.
Set a consistent watering schedule, about 1 inch of water per week, increasing during hot weather. Mulching around the plants can help keep soil moisture steady. Avoid overhead watering to reduce the risk of disease on the foliage.
Propagation Techniques for Jerusalem Artichokes

You can grow Jerusalem artichokes in several ways, mainly using tubers, seeds, or cuttings. Each method has specific steps to follow to get healthy plants. Choosing the right way depends on what materials you have and your growing conditions.
Growing from Tubers
The most common way to grow Jerusalem artichokes is by planting tubers. These are the edible parts you dig from the soil. Plant tubers in early spring after the last frost, when the soil is workable.
Space tubers about 12 to 18 inches apart. Plant them no deeper than 5 inches to avoid poor harvests. The soil should be loose and well-drained to prevent tubers from rotting.
Tubers will sprout shoots, which grow into stems and leaves. This method is easy and reliable because tubers store energy for strong growth. Keep soil moist but avoid waterlogging, which can damage the tubers.
Growing from Seed
Growing Jerusalem artichokes from seed is less common and more difficult than using tubers. Seeds may take longer to establish, and plants can be weaker at first.
If you try this method, start seeds indoors in early spring. Use a seed tray with moist, well-draining soil. Keep temperatures steady around 65-70°F.
After seedlings grow several leaves, harden them off by gradually exposing them to outdoor conditions. Transplant them into your garden when the soil warms.
This method can work but requires more care and patience. Most gardeners prefer tuber propagation for better yields and easier growth.
Using Cuttings
You can also grow Jerusalem artichokes from stem cuttings, although this is less common. Take cuttings from healthy, mature plants during the growing season.
Use a sharp knife or scissors to cut stems about 4 to 6 inches long. Remove the lower leaves and dip the cut end in rooting hormone if available.
Plant cuttings in moist, well-drained soil or a potting mix. Keep them in indirect sunlight and maintain consistent moisture. Roots should form in a few weeks.
Once roots develop, transplant the cuttings outside. This method helps if you want to multiply plants without digging up tubers but requires careful moisture control.
Planting and Container Cultivation
You will need to plant Jerusalem artichoke tubers at the right time and depth to get the best growth. If you want to grow them in containers, you must choose the right size and follow specific planting steps for proper root development.
Planting Times and Depths
Plant Jerusalem artichoke tubers in early spring or late winter, depending on your climate. In warmer areas, you can even plant in early winter.
Place tubers 4 to 6 inches deep in the soil. Make sure the “eyes” (small growth buds) face upward. Space each tuber about 12 to 18 inches apart to allow enough room for growth.
Avoid planting too deep, as it can reduce your harvest. These plants are hardy and can tolerate cooler soil but will not do well if kept too wet.
How to Grow Jerusalem Artichokes in Pots
Choose a large container at least 12 inches deep and wide to give the tubers room to grow. Ensure your pot has good drainage holes to prevent waterlogging.
Fill the container with loose, well-draining soil. Plant tubers 4 to 6 inches below the surface, spaced 12 to 18 inches apart if your pot is large enough.
Water the soil regularly but avoid overwatering. Keep the container in full sun, where the plant will get at least 6 hours of direct sunlight daily.
Container-grown Jerusalem artichokes need good airflow and frequent feeding with a balanced fertilizer to stay healthy.
Cultivation and Harvesting Best Practices

To grow Jerusalem artichokes successfully, focus on preparing your soil, managing pests carefully, and knowing when and how to harvest. Proper care in these areas boosts tuber size and yield.
Fertilizing and Mulching
Jerusalem artichokes prefer well-drained, loose soil. Before planting, enrich your soil with compost or aged manure to improve fertility and drainage. Avoid heavy or clay soils that hold water.
Use a balanced fertilizer if your soil test shows nutrient deficiencies. Too much nitrogen encourages leaf growth but can reduce tuber development.
Apply mulch around the plants to keep soil moist and control weeds. Organic mulches like straw or shredded leaves also improve soil texture as they decompose.
Regular watering is important, but avoid waterlogged soil since excess moisture can rot tubers underground.
Pest and Disease Management
Jerusalem artichokes are sturdy and usually face few serious pests or diseases. Common issues include wireworms and aphids. To control wireworms, rotate crops and avoid planting in areas with a history of infestations.
Aphids can be sprayed off with water or treated with insecticidal soap if spotted early.
Keep your plants healthy by removing dead leaves and monitoring for disease signs like mold or rot. Good spacing is essential to maintain airflow.
Avoid standing water and overly wet soil, which can lead to tuber rot and fungal problems.
Harvest Timing and Methods
Harvest Jerusalem artichokes after the first frost in late autumn or early winter. Frost helps sweeten the tubers by converting starches into sugars.
Use a garden fork or spade to gently dig up tubers without bruising them. Harvest all tubers carefully, as any left in the ground will sprout again the next season.
After harvesting, clean off dirt and store tubers in a cool, dark place with good ventilation to keep them fresh for weeks.
If you want to extend the harvest window, you can also dig some tubers in late autumn and leave others in the ground, harvesting gradually as needed.
Frequently Asked Questions

Growing Jerusalem artichokes requires good soil and the right spacing. You can grow them in containers if you prepare the soil well. Harvest time depends on the tubers’ size, and storing them properly helps keep them for future use. You can cook them in many ways, and yields vary by plant and growing conditions.
What are the ideal conditions for growing Jerusalem artichokes?
You need well-drained soil with plenty of sunlight, ideally full sun most of the day. Plant tubers in early spring when the soil is workable. Space them about 12 to 18 inches apart and plant no deeper than 5 to 6 inches.
Jerusalem artichokes can tolerate poor soil but will produce better in rich, loose soil with some organic matter.
Can Jerusalem artichokes be cultivated in containers, and if so, how?
Yes, you can grow them in large containers or raised beds. Use loose, fertile soil with good drainage.
Make sure your container is at least 12 inches deep. Plant one or two tubers per container spaced properly to avoid crowding.
Water regularly but avoid waterlogging.
What should I know about harvesting Jerusalem artichokes?
Harvest after the first frost when tubers are firm and fully grown. You can dig them carefully to avoid damaging the tubers.
Tubers can be harvested any time after the plants die back, usually late fall to early winter. Leave some tubers in the ground if you want them to grow next season.
What tips can you provide for cooking Jerusalem artichokes?
Peel or scrub thoroughly to remove dirt. They can be roasted, boiled, steamed, or eaten raw in salads.
Their flavor is nutty and slightly sweet, similar to artichokes. Cooking time is usually 15 to 30 minutes depending on the method.
How can I ensure successful storage of Jerusalem artichoke tubers for future planting?
Store tubers in a cool, dark place with high humidity, like a root cellar or refrigerator.
Keep them in slightly moist sand or peat moss to prevent drying out. Avoid washing tubers before storage to reduce rot risk.
Check stored tubers regularly for soft spots or mold.
What is the average yield of Jerusalem artichokes per plant?
Each plant can produce about 1 to 2 pounds of tubers under good conditions.
Yields depend on soil quality, spacing, and care given during the growing season. Keep in mind the plant can spread aggressively if unchecked.