How to Dry and Preserve Herbs: Step-by-Step Methods & Storage Tips
Drying and preserving herbs is a simple way to keep their flavor and benefits all year. By harvesting herbs at the right time and drying them carefully, you can capture their taste and aroma for cooking, tea, or homemade remedies. The best way to dry herbs depends on the type you have, but methods like air drying, using a dehydrator, oven, or microwave all work well when done correctly.
You’ll want to make sure your herbs are clean and dry before starting. Proper drying is key to stopping mold and preserving the herbs’ natural oils and colors. Once dried, storing your herbs in airtight containers away from light and heat will keep them fresh longer.
Learning how to dry and store herbs well means you’ll always have a supply ready, reducing waste and making the most of your garden or store-bought herbs.
Key Takeways
- Harvest herbs at the right time for best flavor and drying results.
- Choose a drying method that suits the type of herb you have.
- Store dried herbs in airtight containers in a cool, dark place.
Selecting and Harvesting Herbs for Drying
Choosing the right herbs and harvesting them at the proper time ensures you keep their flavor and aroma. Preparing herbs correctly before drying helps preserve their oils and quality. Paying attention to these details will give you the best results when you dry your herbs.
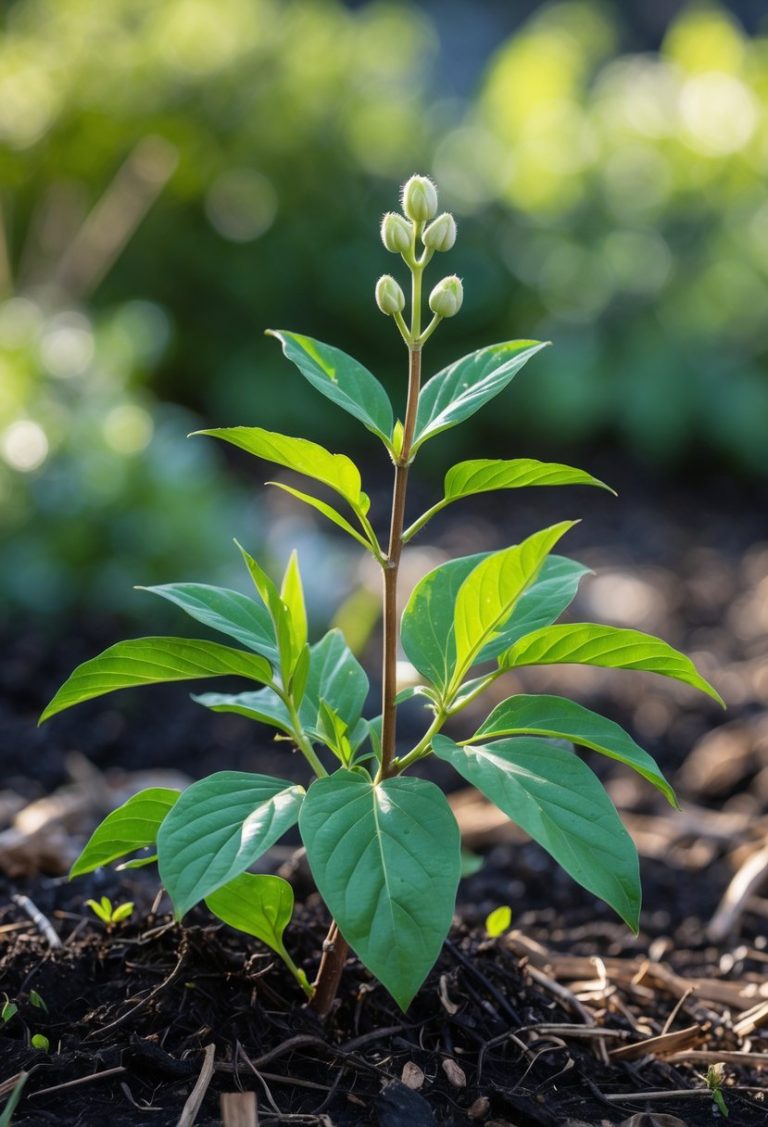
Best Time to Harvest Herbs
Harvest herbs early in the morning after the dew has dried but before the sun becomes too hot. This timing helps keep the essential oils intact, which are responsible for the flavor and aroma.
For herbs grown for leaves, pick them before they flower. Once flowering starts, the leaves can taste bitter. If you are harvesting flowers, cut them just after the buds open but before the full bloom.
For seeds, wait until they are dry and have changed color, usually dark brown or black. This means the seeds are mature and ready to be collected without losing potency.
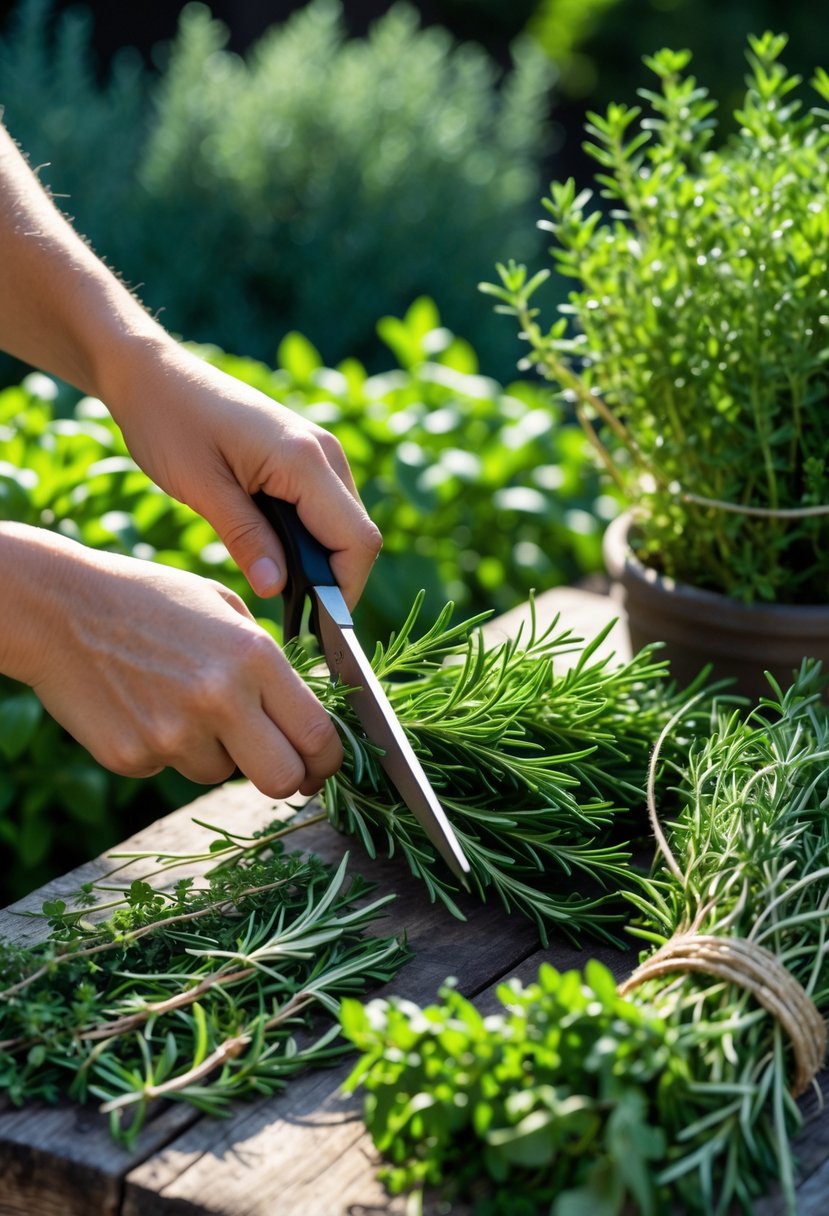
Choosing Herbs Suited for Drying
Pick healthy herbs that have no signs of disease, damage, or pests. Herbs with thick, strong stems dry better when hung in bundles.
Leafy herbs like basil, oregano, and thyme are popular for drying. Perennials such as rosemary and sage also keep their flavor well when dried.
Avoid herbs that have been treated with pesticides if you plan to consume them. Choose herbs you often use in cooking or tea, so drying them will extend your supply.
Preparing Herbs Before Drying
Remove any yellow or damaged leaves to avoid mold during drying. Shake the herbs gently to clear off dust and insects but avoid washing unless necessary.
If you rinse herbs, dry them thoroughly. Excess moisture slows drying and increases the risk of mold.
Group herbs into small, loose bundles or spread them evenly on drying screens. Keep herbs out of direct sunlight as this can fade their color and reduce oils. A warm, dry, well-ventilated area works best for drying.
Drying Methods for Preserving Herbs
Drying herbs correctly helps preserve their flavor and quality for long-term use. You need to ensure herbs are fully dry to avoid mold and spoilage. Different methods work best depending on the herb type and your available tools.
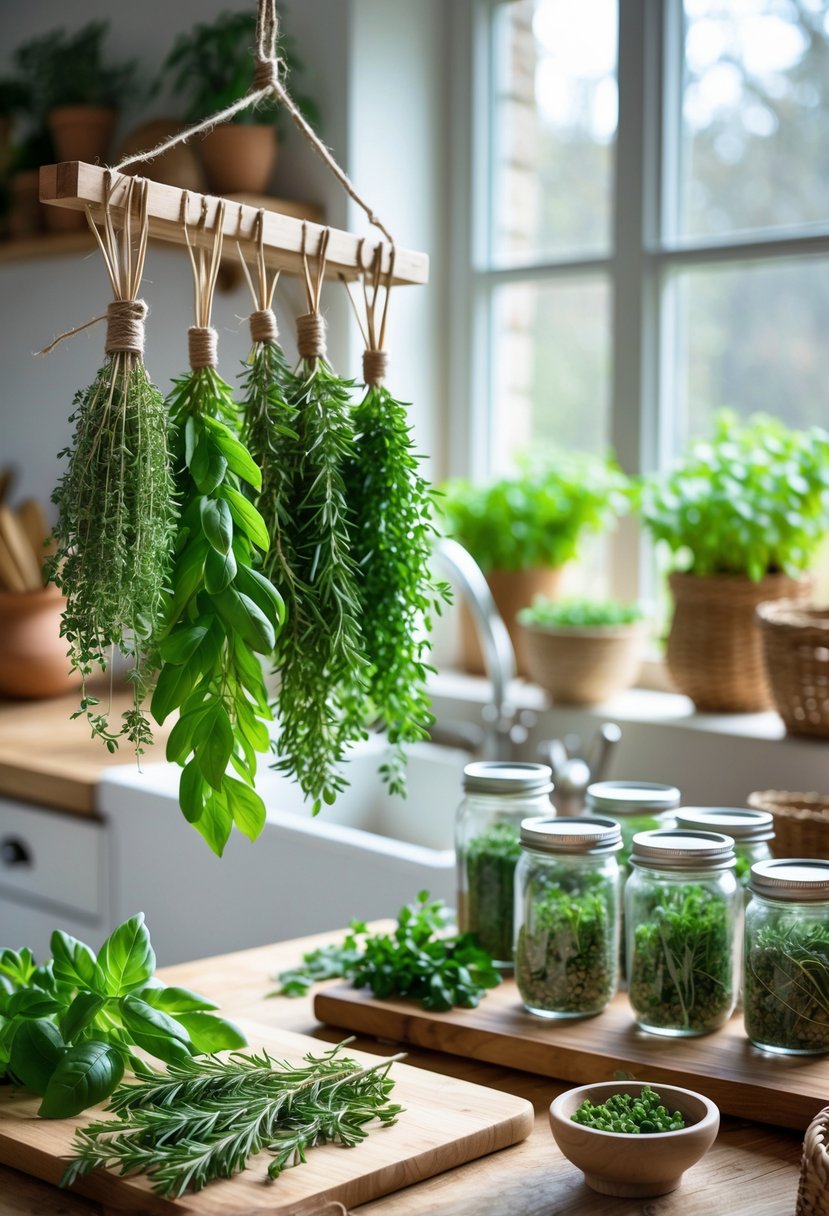
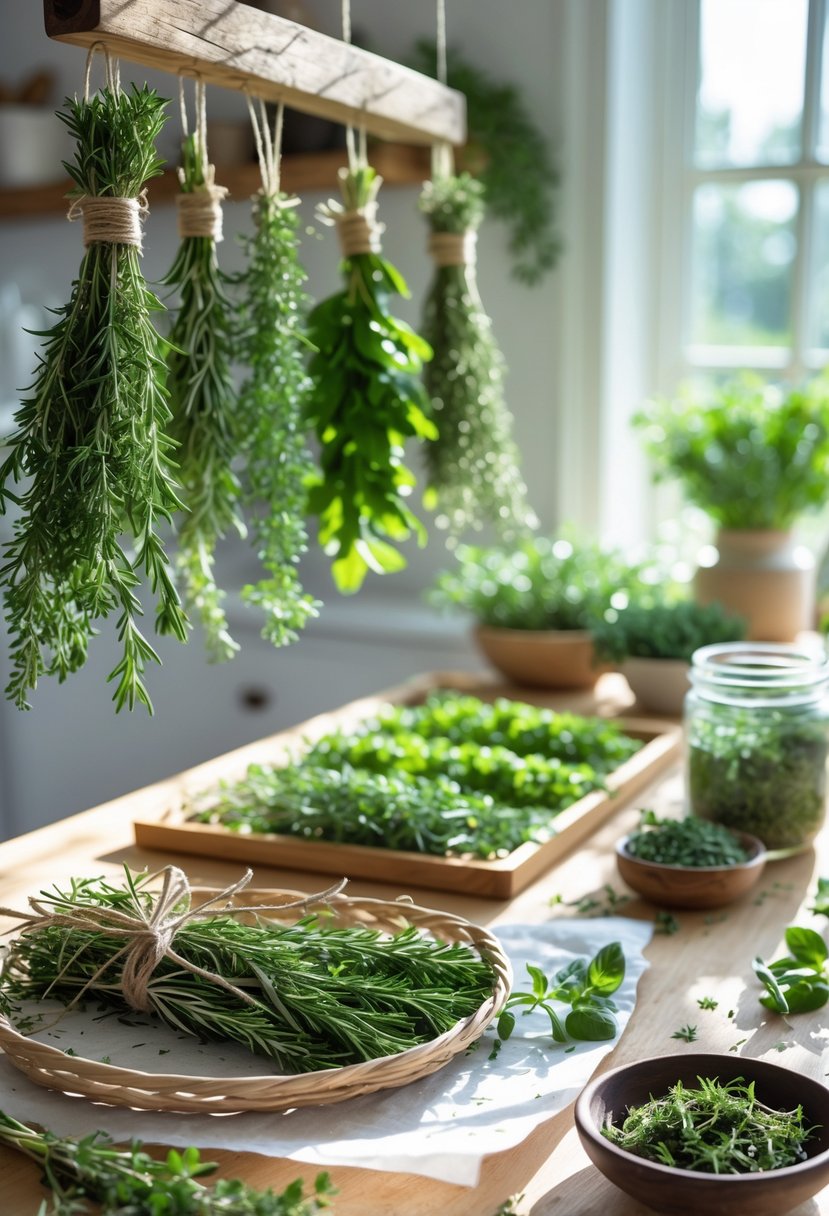
Air Drying Techniques
Air drying is a simple, low-cost way to dry herbs. Start by bundling herbs with twine, leaving space between stems for air circulation. Hang the bundles upside down in a dry, dark place with good airflow.
Avoid direct sunlight, which can cause herbs to lose color and essential oils. Drying time usually takes 1 to 2 weeks, depending on humidity and the herb’s thickness. Herbs are ready when the leaves crumble easily.
For loose leaves or flowers, you can lay them in a single layer on a screen or drying rack. Check regularly and turn them to help even drying.
Oven Drying Process
Oven drying is faster but requires attention to avoid burning your herbs. Set your oven to the lowest temperature (150-180°F). Spread washed herbs in a single layer on a baking sheet lined with parchment paper.
Keep the oven door slightly open to allow moisture to escape and reduce heat buildup. Drying time varies from 2 to 4 hours. Check herbs every 30 minutes and turn them to ensure even drying.
Oven drying may cause some loss of flavor and color compared to air drying, so watch your herbs carefully.
Dehydrator Drying Steps
Using a food dehydrator is efficient and gives consistent results. Arrange herbs in a single layer on the trays, allowing air to flow around them. Set the dehydrator to 95-115°F for delicate herbs; harder herbs like rosemary may need up to 135°F.
Dry herbs usually take 8 to 12 hours inside a dehydrator. The key is to dry them “low and slow” to keep flavor, color, and nutrients intact. Herbs should be crisp and crumbly without any bend before storage.
Dehydrators work well in humid areas where air drying is difficult. They also reduce the risk of mold and make drying less hands-on.
Microwave Drying for Quick Results
Microwave drying is the fastest method and good for small batches. Place clean herbs between two paper towels on a microwave-safe plate. Heat on high for 30 to 60 seconds.
Check herbs often and continue microwaving in short bursts of 20-30 seconds until fully dry. Be careful not to burn them; thinner herbs need less time.
This method keeps herbs’ bright color and fresh flavor better than oven drying. Avoid recycled paper towels, as they can cause sparks. Microwave drying is best when you need dried herbs fast and don’t have much volume.
Storing and Maintaining Dried Herbs
To keep your dried herbs fresh and flavorful, you need to focus on the right containers, clear labeling, and the best storage conditions. These factors help protect the herbs from losing their aroma, flavor, and potency over time.
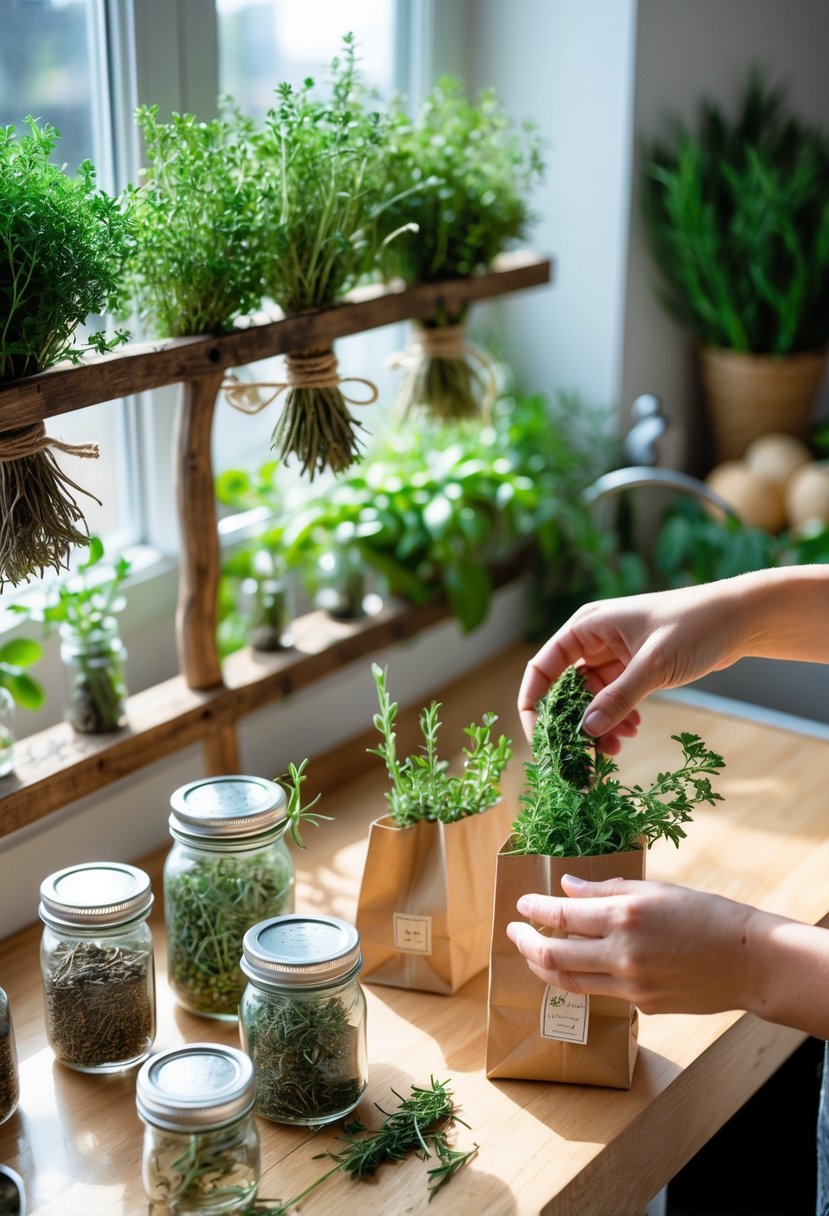
Choosing Airtight Containers
You should store dried herbs in airtight containers to stop moisture and air from spoiling them. Moisture can cause mold, while air makes herbs lose their essential oils and flavor.
The best containers are made of non-porous materials like glass, metal, or food-grade plastic. Glass jars with tight lids are especially good because they don’t absorb odors or moisture. Avoid containers made of wood, cardboard, or other porous materials since they can hold moisture and affect the herb’s quality.
Make sure the lid seals well to prevent air leaks. Consider small containers for each herb to avoid opening one container often and exposing all herbs to air.
Labeling and Dating Dried Herbs
Labeling your herbs clearly makes it easier to find what you need and prevents using the wrong herb in your recipes. Each container should include the herb’s name and the date when you dried or stored it.
Including the storage date helps you keep track of how long the herbs have been stored. Dried herbs usually keep their best flavor for about six months to a year. After this, they may lose potency and do not add much taste or aroma to food.
You can also add notes on the label, like the herb’s source, or if it’s better for cooking or tea. This helps you use your herbs most effectively.
Ideal Storage Conditions
You want to keep dried herbs in a cool, dry, and dark place. Heat, light, and humidity speed up the loss of flavor by breaking down essential oils.
Good locations include a pantry, cupboard, or any place away from sunlight and heat sources like the stove. Avoid storing herbs in humid areas or near appliances that produce heat.
If you live in a humid climate, consider using a dehumidifier or storing herbs in airtight containers inside a cool closet. Freezing dried herbs is an option, but only if the containers are airtight to prevent moisture and freezer burn.
Creative Ways to Use and Preserve Herbs Beyond Drying
You can keep herbs fresh and flavorful using different methods that suit your cooking and storage needs. These techniques help retain the aroma and taste of herbs better than drying alone.
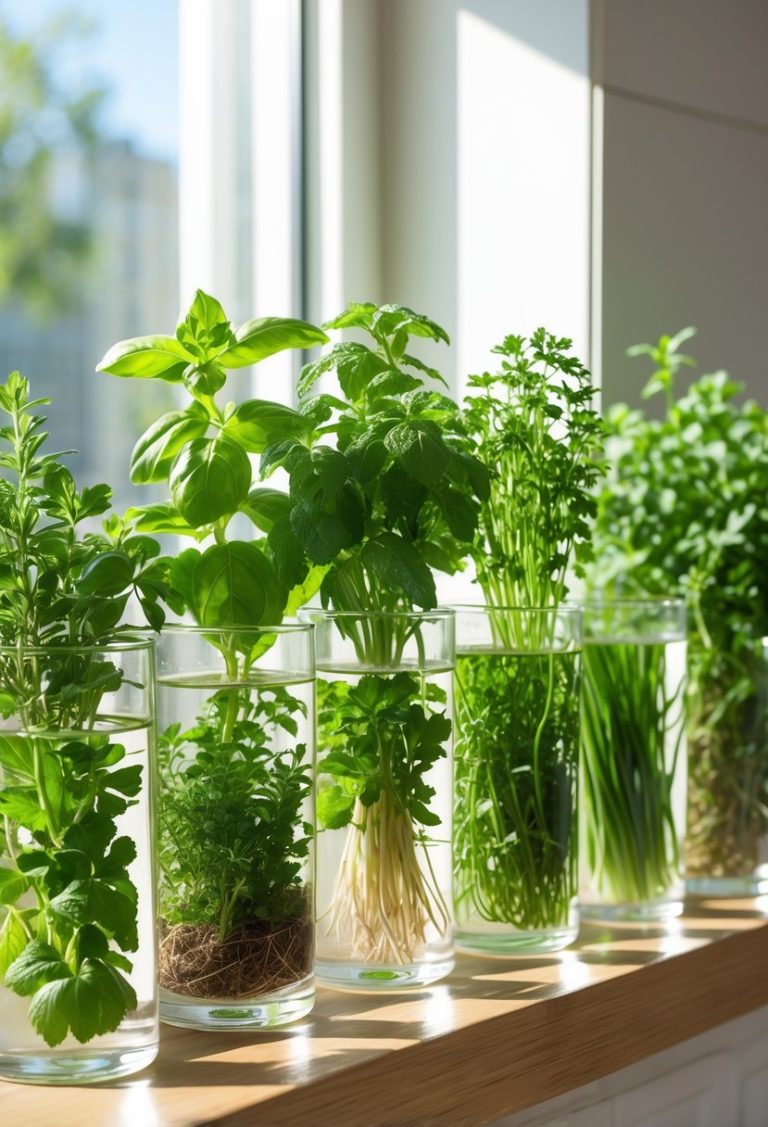
Freezing Fresh Herbs
Freezing is one of the best ways to preserve herbs like basil, dill, chives, and cilantro. To freeze herbs, spread clean, dry leaves in a single layer on a baking sheet lined with parchment paper. Freeze until firm, then transfer to airtight containers or freezer bags. This prevents clumping.
You can also freeze herbs in ice cube trays with water or olive oil. Chop the herbs finely, add them to the tray, cover with liquid, and freeze. These cubes are easy to add to soups, sauces, or dressings. Freezing keeps herbs bright in color and retains more flavor compared to drying.
Making Herb Salt and Vinegar
Herb salt and vinegar are simple ways to infuse flavor into your cooking and preserve your herbs.
Herb Salt: Mix finely chopped fresh herbs with coarse salt. Spread the mixture on a baking sheet and let it air dry for a few days. Store in a sealed jar. Use this flavored salt for seasoning meats, vegetables, or salads.
Herb Vinegar: Fill a clean jar with fresh herb sprigs and cover them with white or apple cider vinegar. Seal the jar and let it sit for 2-4 weeks in a cool, dark place. Strain the vinegar and store it in a bottle. Use it in dressings or marinades for a fresh herbal flavor.
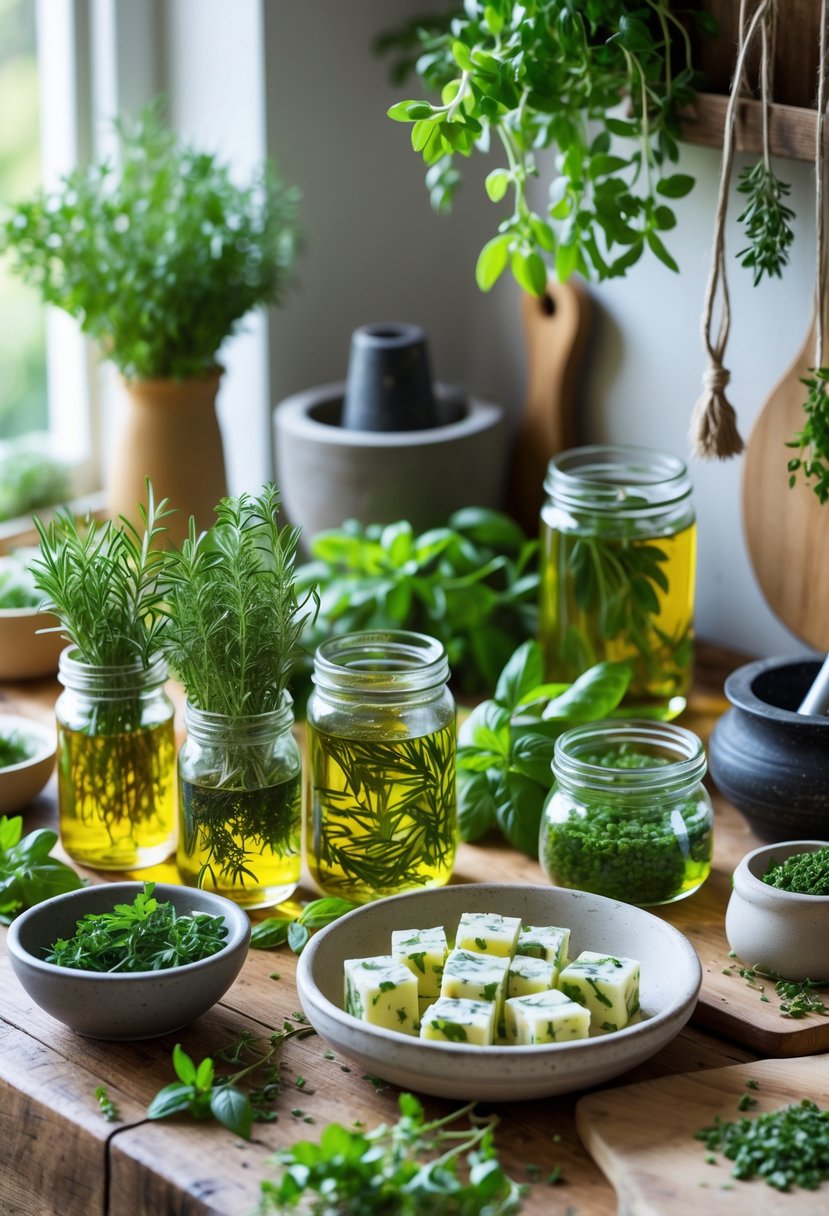
Infusing Butter and Oils with Herbs
Infused butter and oils are great for cooking or finishing dishes, and they also make use of your fresh herbs.
To make herb butter, soften unsalted butter and mix in chopped fresh herbs like rosemary, thyme, or parsley. Shape it into a log using plastic wrap and chill before slicing. It adds a fresh burst of flavor to bread, steak, or vegetables.
For herb-infused oils, gently warm olive oil and add fresh herbs. Let the oil cool and steep for several days in the dark before straining. Store the oil in a sealed bottle in the fridge. This oil works well for salad dressings, roasting, or drizzling over cooked dishes.