Herringbone Brick Pavers: Patterns, Installation & Benefits
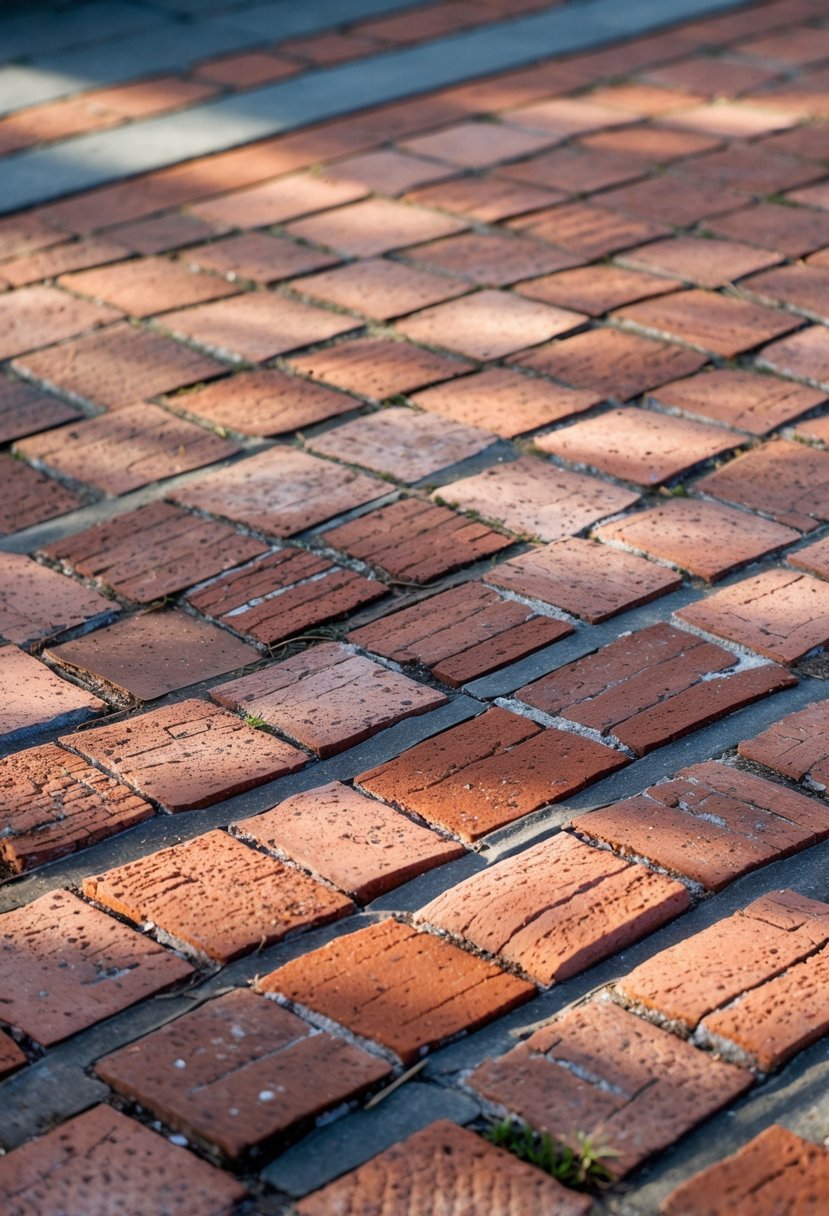
Herringbone brick pavers create a strong and eye-catching pattern made by arranging bricks in a zigzag design. This pattern is known for its durability and classic look, perfect for patios, walkways, and driveways. Using a herringbone pattern can help your paved surface resist shifting and wear better than simple straight layouts.
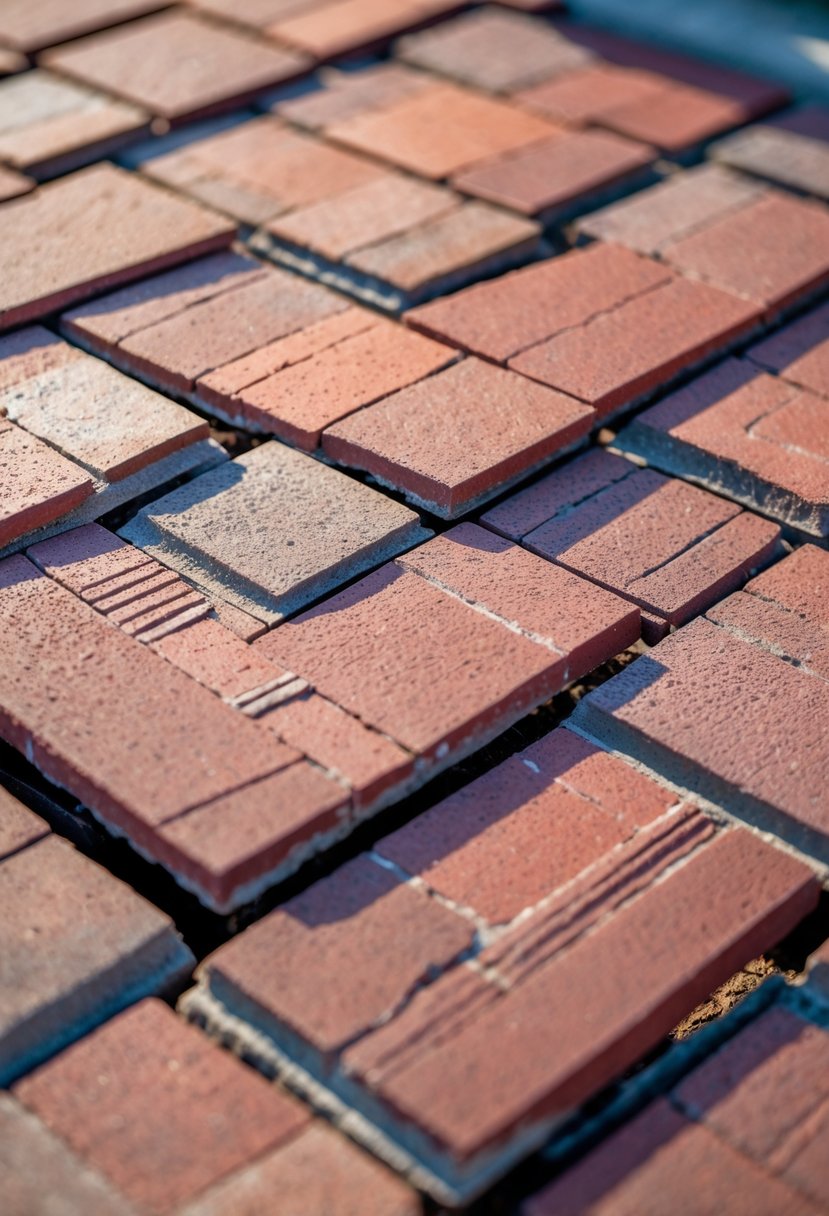
You can choose between two main styles: the 90° and the 45° herringbone pattern. Each style offers a slightly different visual effect but both require careful planning for alignment and spacing. Though the installation can be tricky, the unique design adds texture and interest to any outdoor space.
With the right tools and preparation, you can achieve a professional finish that lasts. Understanding how to lay the bricks, manage edges, and maintain your pavers will help you keep your project looking sharp for years.
Key Takeaways
- Herringbone patterns offer strength and visual appeal for paved areas.
- Careful layout and alignment are important for a clean installation.
- Proper maintenance keeps the pavers durable and attractive over time.
Understanding Herringbone Brick Pavers
Herringbone brick pavers create a distinct pattern that is both strong and visually appealing. You will find their design useful for outdoor spaces needing durability and style. The pattern’s rich history and multiple variations offer options depending on your project’s needs and aesthetic goals.
What Is a Herringbone Brick Paver Pattern
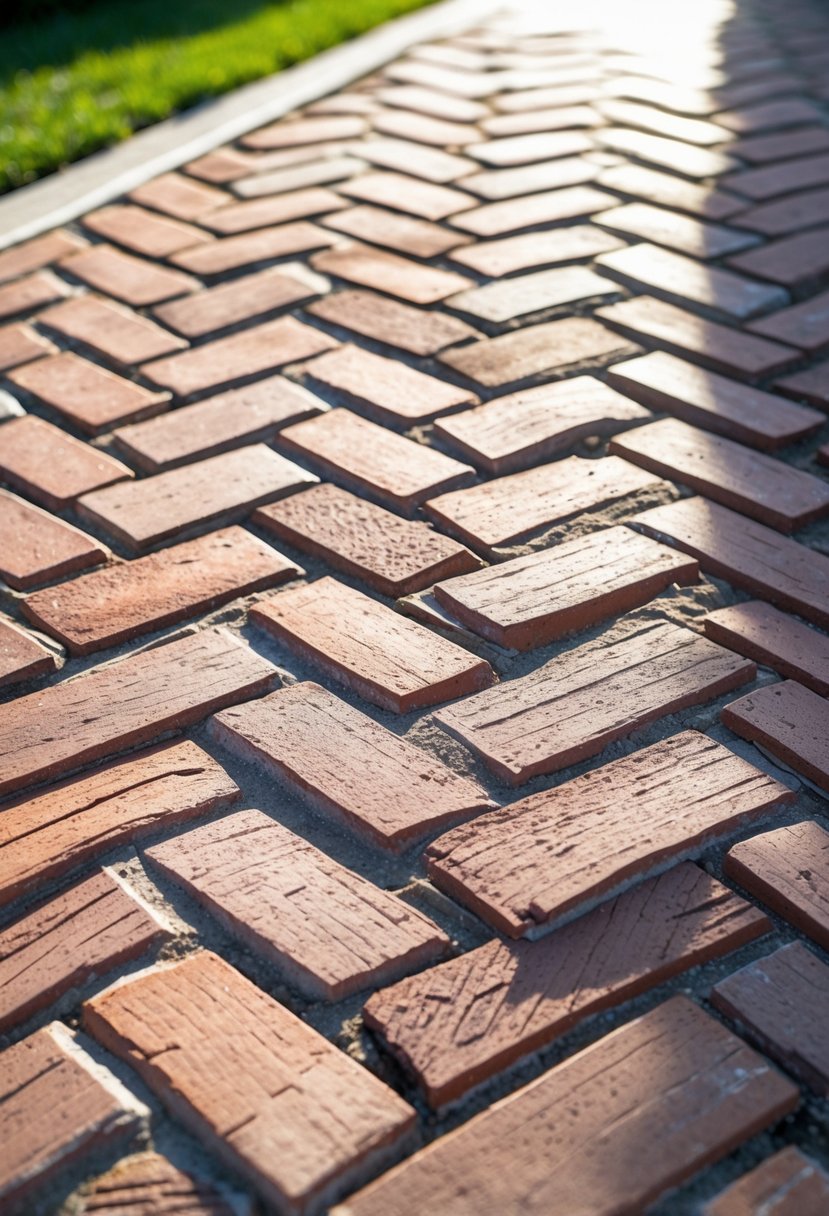
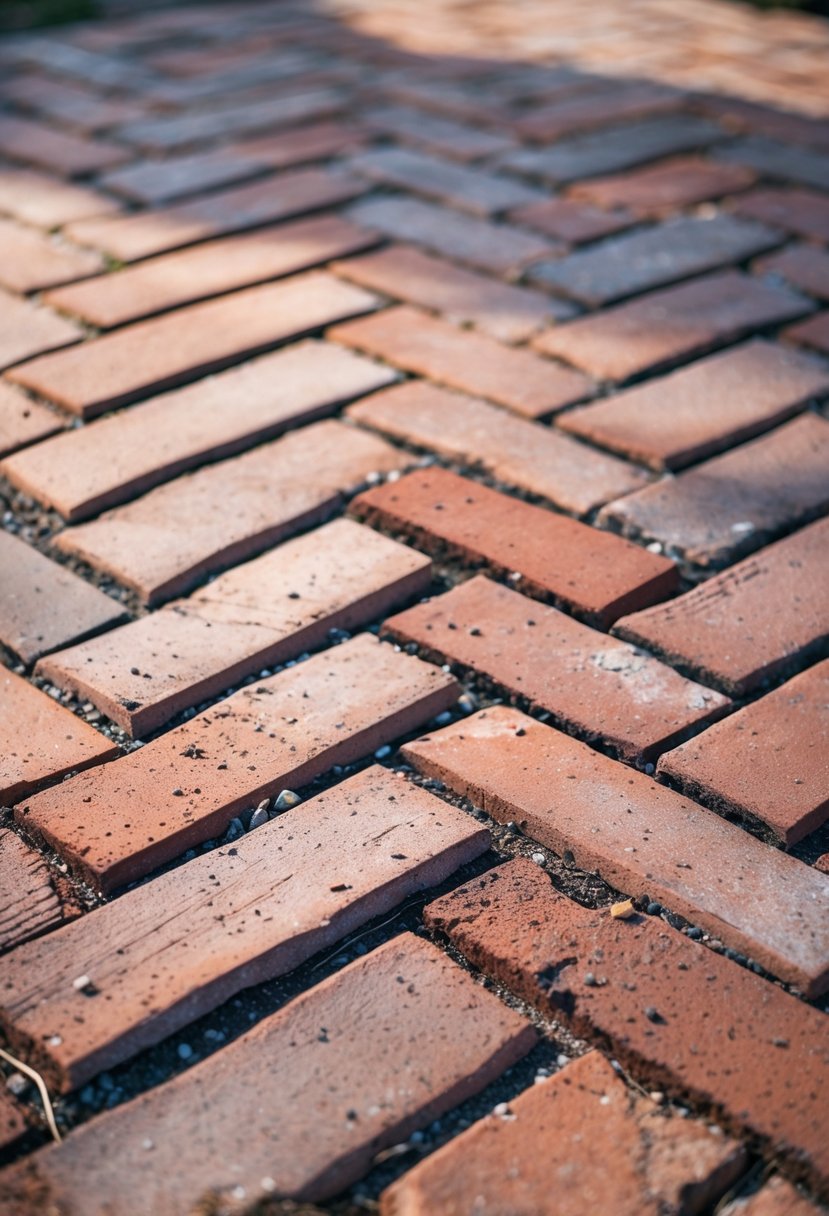
The herringbone pattern arranges rectangular bricks or pavers in a V-shaped zigzag. Each brick is placed at a 90-degree angle to the next, creating an interlocking design. This method locks the bricks together, which helps distribute weight evenly and resist movement.
When laying this pattern, bricks often run at either a 45-degree or 90-degree angle relative to the edges of the area. This arrangement not only enhances strength but adds texture and depth to patios, driveways, or walkways. The pattern requires careful alignment to maintain a neat appearance.
Popularity and Historical Significance
You will find that herringbone patterns have been used for centuries, dating back to Roman roads. Its longstanding use points to both its effectiveness and classic style. Over time, it became popular in Renaissance-era architecture and later in outdoor and interior paving.
Its popularity today comes from both durability and visual interest. Because the design prevents bricks from shifting easily, it offers a lasting surface. Many homeowners and designers choose herringbone pavers because of the pattern’s timeless elegance combined with practicality.
Pattern Variations and Alternatives
The classic herringbone can be varied by adjusting brick angles or size. For example, bricks can be laid at 45 degrees for a diagonal effect or 90 degrees for a more square look. You can use different materials like brick, stone, or concrete to achieve similar results.
If you want an alternative, patterns like basket weave or running bond might suit your needs better. These options offer less interlocking strength but can be easier to install or fit specific design preferences. Understanding the differences lets you pick the best pattern for your project’s function and style.
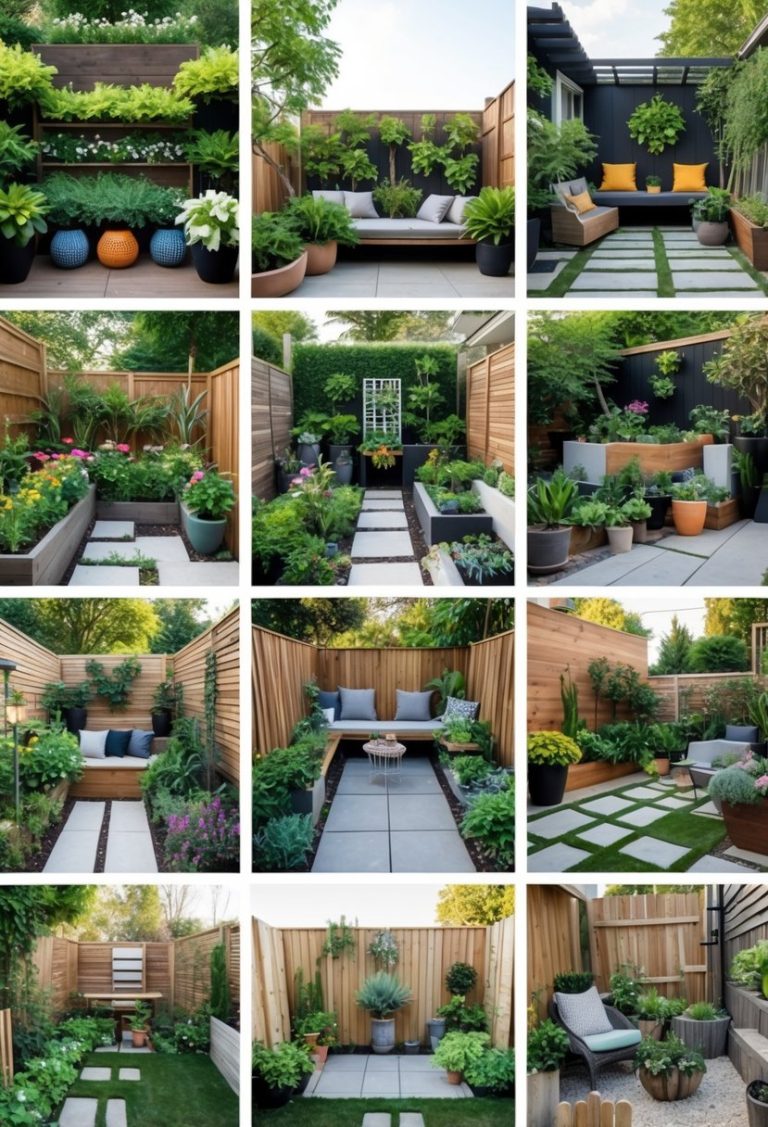
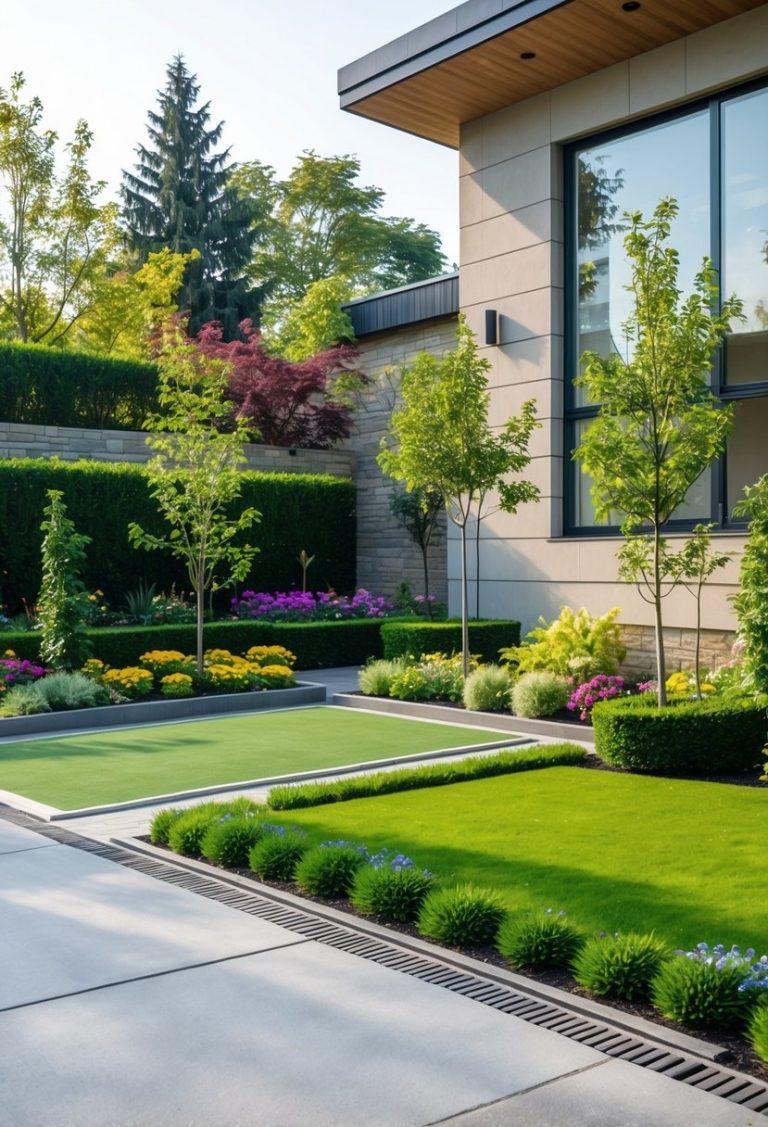
Benefits of Herringbone Brick Pavers
Choosing herringbone brick pavers gives you a strong, long-lasting surface with design options and material choices. This pattern locks bricks tightly for extra support. It also offers style flexibility and works well with many brick types and colors.
Structural Stability and Durability
The herringbone pattern arranges bricks at 45 or 90 degrees, creating a tight interlock. This layout spreads weight diagonally across the surface, reducing pressure on individual bricks.
Because the bricks support each other, your paved area resists shifting and sinking. It handles heavy traffic better than many other patterns.
This interlocking helps prevent cracks and uneven surfaces, making repairs less frequent. It also improves drainage, reducing water buildup that can cause damage over time.
Visual Appeal and Design Flexibility
Herringbone brick pavers offer a classic, clean look. The zig-zag pattern adds texture and interest without being too busy.
You can choose between a 45-degree or 90-degree layout to change the look while keeping strength. The bricks can be made to fit traditional or modern styles.
Herringbone works well alongside other patterns for edges or accents. It supports a wide range of colors and finishes to match your home or garden.
Adaptability to Different Materials
This pattern isn’t limited to just one type of brick. You can use clay bricks, concrete pavers, or stone-made bricks depending on your preference and budget.
Each material works well in the herringbone pattern because the design evenly distributes pressure. This means you don’t have to worry about weak spots in the layout.
You also get options for textures and colors that suit your climate, usage, and style. This flexibility makes it easier to maintain and enjoy your paved surfaces for years.
How to Install Herringbone Brick Pavers

You will need to pick the right materials and decide the pattern angle that fits your space. The installation requires careful ground preparation, precise layout setting, and attention to edges and borders. Avoiding common mistakes will help your project last longer and look better.
Choosing Materials and Laying Patterns
Start with rectangular brick pavers designed for outdoor use. Choose durable materials that can handle foot or vehicle traffic, depending on your project. You will also need sand, gravel, paver restraints, and tools like a plate compactor and masonry saw.
There are two main herringbone patterns: 90° and 45°. The 90° pattern is easier to install because the bricks align with straight lines. The 45° pattern gives a diagonal look but may require more cuts and careful measuring.
Use stakes, string, and a carpenter’s level to mark your base line. This line will guide the pattern direction. Consider the traffic flow and building orientation when choosing your laying angle.
Step-by-Step Installation Process
First, outline the area using rope and stakes. Level the ground and dig down 4 to 6 inches for walkways, or up to 12 inches for driveways. Compact the soil to prevent shifting.
Next, lay a 3 to 4-inch layer of gravel, checking that the surface is even and matches your planned slope for drainage. Install paver edge restraints around the perimeter to hold the pattern in place.
Add a 2-inch layer of clean sand on top of the gravel. Level and compact the sand so the pavers sit evenly. Begin placing pavers on the string lines, leaving about ½ inch spacing between them.
Use a rubber mallet to gently tap each paver into place. Check alignment frequently and cut bricks at edges to fit. After laying all pavers, compact the surface and sweep stone dust into the joints for stability.
Edges, Borders, and Accents
Edge restraints are essential to hold the pavers tightly and prevent shifting over time. Secure these with spikes driven into the ground around the area’s border.
Borders can be created by laying bricks in a straight pattern around the herringbone field. This defines the space and prevents the pattern from visually “breaking.”
You can add accent rows or strips using different colored bricks to highlight features or sections. This adds contrast without disrupting the integrity of the pattern.
Make sure edges are cut evenly for a clean finish. Improper cutting can make gaps larger or the border uneven.
Common Mistakes to Avoid
Failing to compact the base properly causes uneven surfaces later. Always use a plate compactor on soil, gravel, and sand layers.
Skipping the slope for drainage leads to water pooling and can damage the pavers and base.
Laying pavers without edge restraints results in shifting and loosening. This will shorten the lifespan of your installation.
Cutting bricks carelessly causes gaps and weak edges. Measure twice before cutting and use a masonry saw for clean cuts.
Ignoring pattern alignment leads to a distorted herringbone look. Regularly check your lines and keep the pattern consistent from start to finish.
Maintenance and Long-Term Care
To keep your herringbone brick pavers looking good and lasting long, focus on cleaning them regularly and maintaining the sand between the joints. Also, watch for shifting bricks and control weed growth to protect the structure and appearance over time.
Regular Cleaning and Joint Sand Application
You should sweep your herringbone pavers often to remove dirt, leaves, and debris. This prevents stains and keeps the surface looking neat. After sweeping, rinse the area with a garden hose to wash away finer particles.
Using sand to fill the joints between bricks is important. Regular sand needs to be reapplied yearly because rain washes it away. However, polymeric sand is a better choice. When dry, it hardens between bricks, reducing washout and stabilizing the pavers.
To apply polymeric sand:
- Make sure the pavers are clean and dry.
- Sweep the sand into all joints evenly.
- Mist lightly with water to activate the binder.
- Let the sand harden for several hours before foot traffic.
This sand also helps prevent insects from digging under the bricks and keeps your herringbone pattern intact.
Preventing Shifting and Weed Growth
Proper installation helps prevent bricks from moving, but over time, some shifting can happen. The polymeric sand also helps lock bricks in place. If you notice movement, adding more sand and lightly compacting the area will tighten the joints.
Weeds can grow between the bricks if soil and seeds collect there. You can stop this by:
- Removing visible weeds manually.
- Sweeping regularly to disrupt seed growth.
- Using polymeric sand to block root development.
- Ensuring your walkway has a slight slope to avoid water pooling.
Good drainage keeps soil dry, which discourages weeds. If plants do grow, use mechanical removal or natural solutions like white vinegar to clear the joints without harming your bricks.